
A rusty metal fence can not only be an eyesore but also compromise its structural integrity over time. Painting a rusty metal fence is a practical and cost-effective way to restore its appearance and protect it from further corrosion. In this step-by-step guide, we will walk you through the process of painting a rusty metal fence, from preparing the surface to achieving a smooth, long-lasting finish. By following these instructions, you can transform your weathered fence into a visually appealing and durable barrier for years to come.
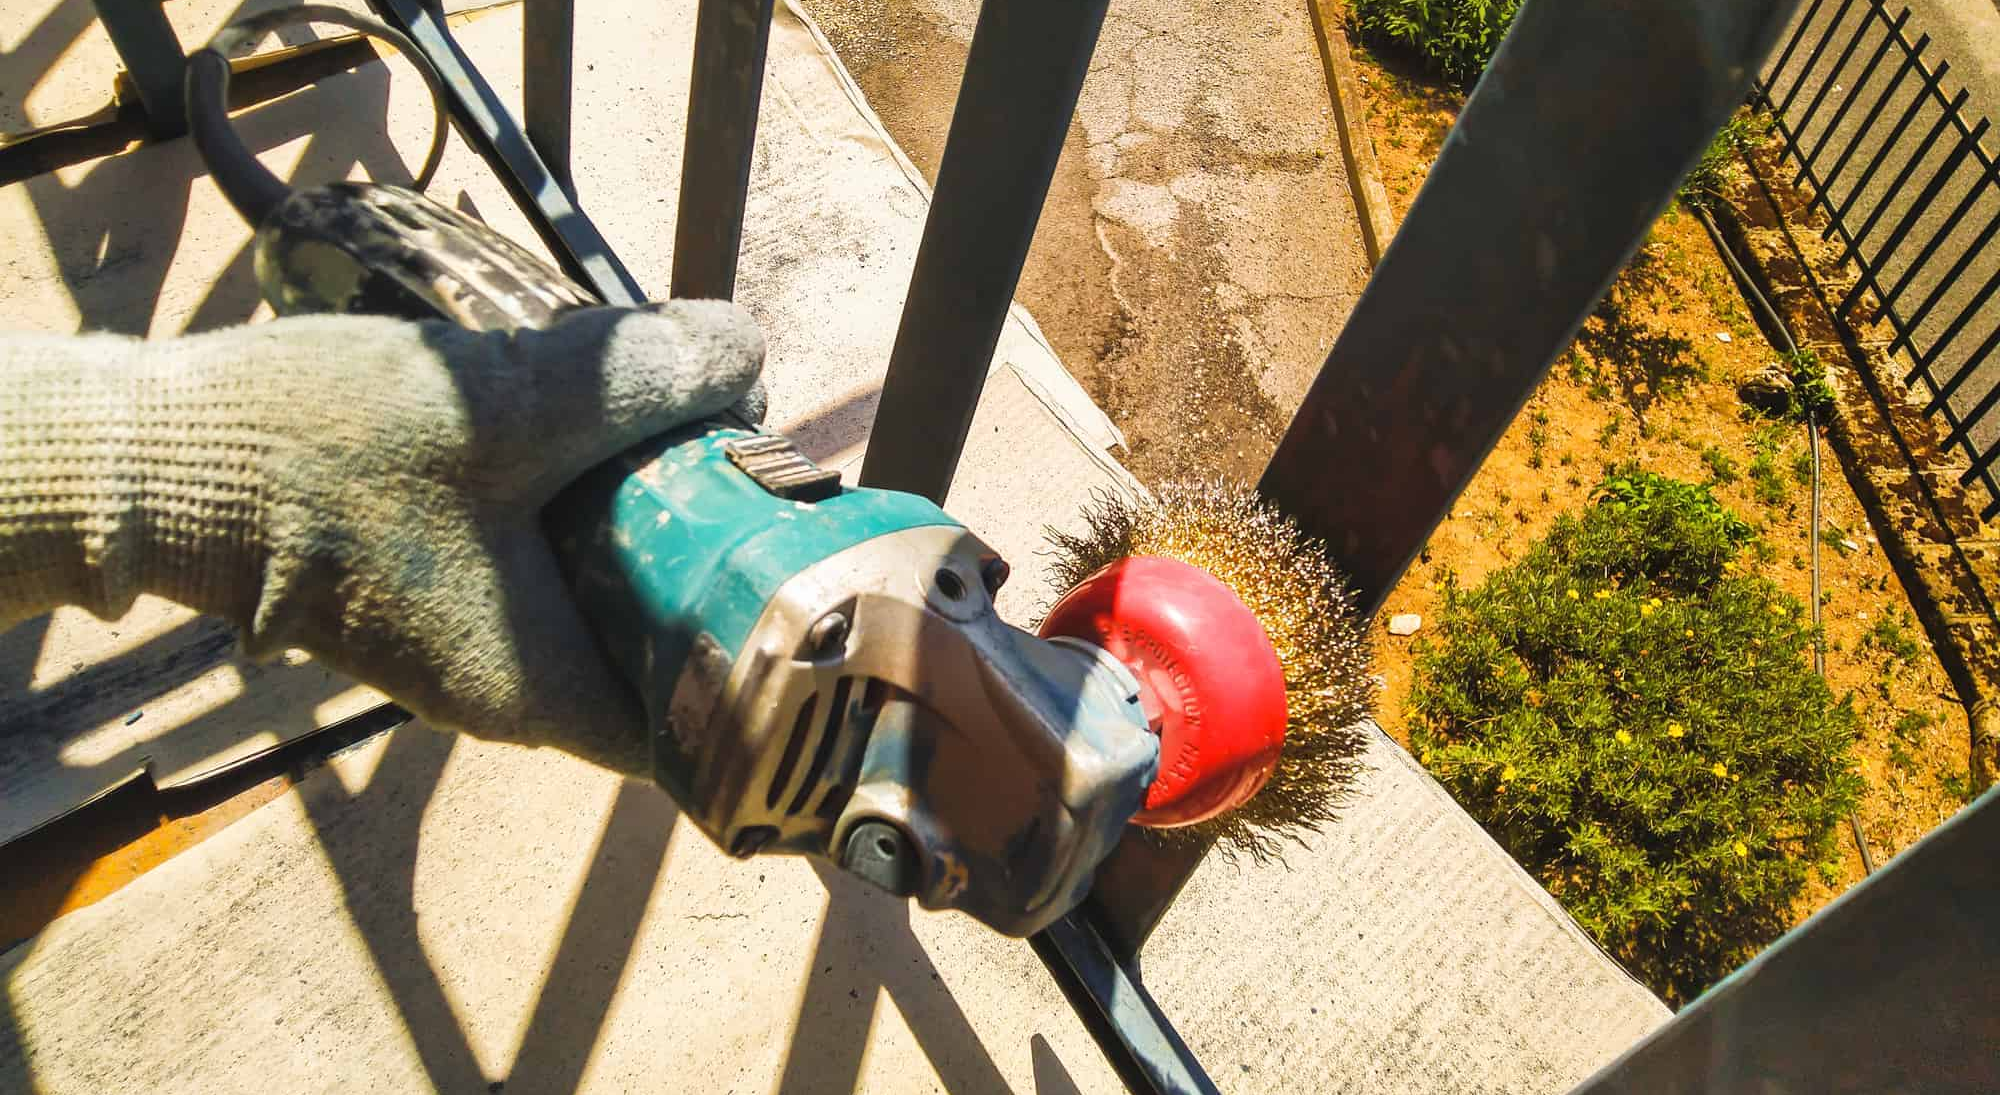
What tool to use to paint a rusty metal fence?
A wire brush can be particularly effective for removing heavy rust and debris from thicker metals.
Sandpaper is useful for smoothing out rough areas and creating a smooth surface for painting. Choose a sandpaper grit that is appropriate for the job, such as 80-100 grit sandpaper for heavy rust removal and 220 grit for smoothing out the surface.
- Rust-inhibiting Primer
A high-quality metal primer is essential for creating a strong bond between the metal surface and the paint. Choose a primer that is specifically designed for use on metal surfaces.
Steps to paint a rusty metal fence
Safety Precautions
Before starting any painting project, it is essential to prioritize safety. Here are some safety precautions to keep in mind:
- Wear protective clothing, including goggles, gloves, and a mask, to shield yourself from debris, dust, and paint fumes.
- Work in a well-ventilated area to prevent inhalation of harmful chemicals.
- Keep children and pets away from the work area.
- Use sturdy ladders or scaffolding when working at heights.
Surface Preparation
The key to a successful paint job lies in thorough surface preparation. Follow these steps to prepare your rusty metal fence:
- Remove loose paint and rust: Use a wire brush or a scraper to remove loose paint and rust from the surface. Ensure you reach all the nooks and crannies of the fence.
- Sand the surface: Lightly sand the entire fence using medium-grit sandpaper to create a smooth surface for the paint to adhere to. This step helps remove any remaining loose rust and promotes better paint adhesion.
- Clean the fence: Wipe down the fence with a mixture of water and mild detergent to remove dirt, grease, and any leftover dust from sanding. Rinse thoroughly and allow it to dry completely.
- Apply a rust converter:If the fence has significant rust, apply a rust converter to transform the rust into a stable surface. Follow the manufacturer’s instructions for the application and drying time.
- Repair any damages:Inspect the fence for any holes, dents, or other damages. Use a suitable metal filler or epoxy putty to repair these imperfections. Allow the filler to dry and sand it smooth before proceeding.
Priming the Surface
Applying a primer is crucial to ensure proper adhesion and enhance the durability of the paint job. Follow these steps to prime your fence:
- Choose an appropriate primer:Select a primer specifically designed for metal surfaces. Rust-inhibiting primers are highly recommended to prevent future rust formation.
- Stir the primer:Thoroughly stir the primer to ensure a consistent mixture.
- Apply the primer:Use a high-quality brush or a sprayer to apply an even coat of primer to the entire fence. Pay extra attention to rust-prone areas.
- Allow the primer to dry:Follow the manufacturer’s instructions regarding drying time. Ensure the primer is fully dry before proceeding to the next step.
Painting the Fence
Now that the surface is primed, it’s time to apply the paint. Follow these steps for a successful painting process:
- Choose the paint:Select a high-quality exterior paint that is suitable for metal surfaces. Opt for a rust-inhibiting paint for enhanced protection.
- Stir the paint: Thoroughly stir the paint to achieve a consistent color and texture.
- Apply the paint:Use a brush or sprayer to apply an even coat of paint to the entire fence. Start from the top and work your way down, applying long, smooth strokes. Ensure complete coverage and smooth out any drips or uneven spots as you go.
- Allow the paint to dry:Follow the manufacturer’s instructions regarding drying time. Apply a second coat if necessary, once the first coat is completely dry.
Finishing Touches
Once the paint has dried, take care of the final touches to ensure a polished and long-lasting finish:
- Clean up: Properly clean your painting tools and dispose of any leftover paint or debris according to local regulations.
- Inspect the fence:Once the paint is fully cured, inspect the fence for any missed spots or imperfections. Touch up those areas with additional paint as needed.
- Maintain the fence: Regularly clean the painted fence using a mild detergent and a soft brush to remove dirt and grime. Promptly address any chips or damages by touching up the paint.
Q & A during rusty metal fence painting
Q: How do I prepare the surrounding area before painting my fence?
A: Before painting your fence, make sure to protect any nearby surfaces, such as plants, outdoor furniture, or buildings, with a drop cloth or plastic sheeting. This will prevent any accidental overspray or drips from damaging surrounding surfaces.
Q: How do I choose the right paint color for my metal fence?
A: When choosing a paint color for your metal fence, consider the style and color of your home or business. You may also want to choose a color that complements the surrounding landscape. Look for paint samples or use online tools to visualize how different colors will look on your fence.
Q: Can I paint a rusty metal fence without using a primer?
A: While it’s possible to paint a rusty metal fence without using a primer, it’s not recommended. A primer creates a strong bond between the metal surface and the paint, which helps the paint adhere better and provides better protection against the elements. Skipping the primer can lead to a poor finish and reduced durability.
Q: How long will it take to paint a rusty metal fence?
A: The amount of time it takes to paint a rusty metal fence depends on the size of the fence, the condition of the surface, and the weather conditions. Generally, it can take several days to complete the entire process, including surface preparation, primer application, and paint application.
Q: Should I remove the metal fence to paint it or can I paint it in place?
A: In most cases, it’s possible to paint a metal fence in place without removing it. However, if the fence is in very poor condition, or if there are areas that are difficult to reach, it may be necessary to remove the fence for painting.
Q: Can I use a paint and primer combination product for painting my metal fence?
A: While it’s possible to use a paint and primer combination product, it’s generally recommended to use a separate primer. A separate primer will provide better adhesion and coverage, and will help the paint last longer.
Q: How do I maintain my painted metal fence over time?
A: To keep your painted metal fence looking its best, it’s important to maintain it over time. This may include washing the fence periodically to remove dirt and debris, inspecting it for signs of rust or damage, and touching up any areas where the paint has chipped or peeled. A regular maintenance routine can help extend the life of your painted metal fence.
Conclusion
Painting a rusty metal fence is a relatively simple process that can be accomplished with a little time and effort. By following these steps, you can transform an unsightly, rusty fence into a beautiful and functional addition to your yard. With the right paint, tools, and techniques, you can achieve a professional-looking finish that will last for years to come. So Iif your metal fence are rusty, roll up your sleeves, grab your paintbrush, and get ready to give your fence a much-needed facelift!