
When it comes to painting car plastic parts, preparation is key. One of the essential steps in this process is sanding. Sanding allows you to create a smooth surface for the paint to adhere to, ensuring a high-quality finish. However, with so many different sandpapers available, it can be challenging to know which one to choose. In this article, we’ll explore how to select sandpapers to sand car plastic parts before paint.
Why is sanding car plastic parts necessary?
Before we dive into selecting sandpapers, let’s understand why sanding car plastic parts is necessary. Car plastic parts need sanding to create a smooth surface for paint to adhere to. When the surface is rough, paint will not stick properly, leading to peeling, flaking, or cracking. Sanding also removes any imperfections on the surface, such as scratches, dents, or bumps. Sanding also allows for proper adhesion of primers and clear coats, which are essential for achieving a glossy finish.
How to Select Sandpapers to Sand Car Plastic Parts Before Paint?
Step 1: Identify the Type of Plastic
Before you begin sanding, it’s essential to identify the type of plastic you’re working with. Different types of plastics require different sandpapers and sanding techniques. The two most common types of plastic used in cars are:
- Thermosetting plastic: This type of plastic is rigid and cannot be remolded once it has been set. Examples include ABS (Acrylonitrile Butadiene Styrene) and polycarbonate.
- Thermoplastic: This type of plastic is flexible and can be remolded using heat. Examples include polypropylene and polyethylene.
Knowing which type of plastic you’re working with is important because it will affect the sandpaper you choose.
Step 2: Determine the Grit Size
Once you’ve identified the type of plastic, you can choose the appropriate grit size for your sandpaper. Grit size refers to the number of abrasive particles per square inch of sandpaper. The higher the grit number, the finer the abrasive particles, and the smoother the finish.
- For thermosetting plastics like ABS and polycarbonate, start with a coarse grit sandpaper, such as 80 or 120. These plastics are hard and require more aggressive sanding to create a smooth surface. Once you’ve sanded with the coarse grit, move on to a finer grit, such as 240 or 320, to create a smooth surface for painting.
- For thermoplastic plastics like polypropylene and polyethylene, start with a finer grit sandpaper, such as 220 or 320. These plastics are softer and require less aggressive sanding. Once you’ve sanded with the finer grit, move on to an even finer grit, such as 400 or 600, to create a smooth surface for painting.
Step 3: Choose the Type of Sandpaper
Now that you know the appropriate grit size for your plastic, it’s time to choose the type of sandpaper. There are three main types of sandpaper:
- Aluminum Oxide:This is the most common type of sandpaper and is suitable for most applications. It’s durable, long-lasting, and can be used on both wood and metal surfaces. Aluminum oxide sandpaper is available in a range of grit sizes and is a good choice for sanding car plastic parts before painting.
- Silicon Carbide:This type of sandpaper is more abrasive than aluminum oxide and is suitable for sanding harder materials like stone and metal. It’s also ideal for wet sanding, which is often used in automotive applications. Silicon carbide sandpaper is available in a range of grit sizes and is a good choice for sanding thermosetting plastics like ABS and polycarbonate.
- Zirconia Alumina:This type of sandpaper is the most abrasive of the three and is suitable for sanding very hard materials like metal and fiberglass. It’s not recommended for sanding plastic because it’s too aggressive and can cause damage to the surface.
For sanding car plastic parts before painting, aluminum oxide or silicon carbide sandpaper is the best choice.
Step 4: Consider Wet vs. Dry Sanding
Another factor to consider when choosing sandpaper is whether to use wet or dry sanding.
- Wet sanding involves using a lubricant, such as water or oil, to reduce friction and preventthe sandpaper from clogging. Wet sanding is recommended for automotive applications because it produces a smoother finish and reduces the risk of scratching or damaging the surface.
- Dry sanding, on the other hand, is faster and easier because you don’t need to use a lubricant. However, it can produce more dust and debris, which can be harmful to breathe in. If you choose to dry sand, be sure to wear a mask and work in a well-ventilated area.
Step 5: Use the Proper Technique
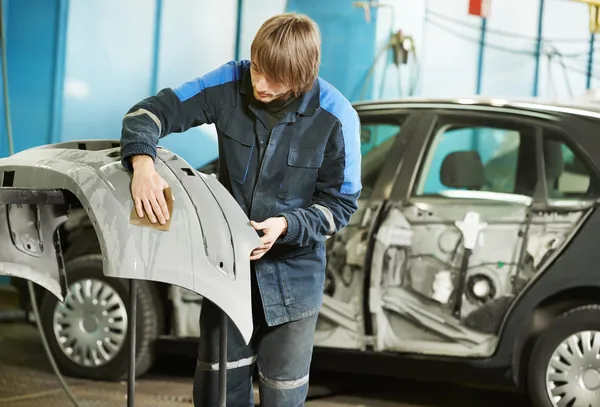
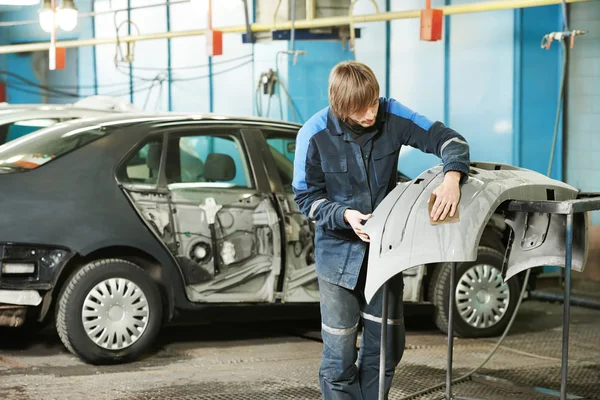
Now that you’ve chosen the appropriate sandpaper, it’s essential to use the proper technique. Here are some tips for sanding car plastic parts:
- Begin by cleaning the surface of the plastic with soap and water to remove any dirt, grease, or grime. Dry the surface thoroughly before sanding.
- Use a sanding blockor a flexible sanding pad to ensure even pressure across the surface. This will prevent uneven sanding or damage to the plastic.
- Sand in a circular motion or a back-and-forth motion, depending on the shape of the surface. Be sure to overlap each pass of the sandpaper to ensure even sanding.
- Use light pressure when sanding. Too much pressure can damage the surface or create uneven sanding.
- Check your progress frequently by wiping the surface with a clean cloth. This will help you identify any areas that need more sanding.
Step 6: Finish with a Fine Grit Sandpaper
Once you’ve sanded the surface with the appropriate grit sandpaper, finish with a fine grit sandpaper to create a smooth surface for painting. For thermosetting plastics like ABS and polycarbonate, use a fine grit sandpaper like 240 or 320. For thermoplastic plastics like polypropylene and polyethylene, use an even finer grit sandpaper like 400 or 600.
Step 7: Clean the Surface
Before painting, it’s essential to clean the surface of the plastic thoroughly to remove any dust, debris, or residue. Use a clean cloth and a mild detergent to clean the surface, and then rinse with clean water. Dry the surface thoroughly before painting.
Conclusion
Sanding car plastic parts before painting is an essential step in the preparation process. By choosing the appropriate sandpaper, identifying the type of plastic, and using the proper technique, you can create a smooth surface for painting that will ensure a high-quality finish. Remember to choose the appropriate sandpaper grit size, type of sandpaper, and consider wet vs. dry sanding. With these tips, you can achieve a professional-looking paint job on your car plastic parts.