
Flap discs are versatile tools commonly used in metalworking and construction, but their utility extends well into woodworking as well. With the right type of flap disc, woodworkers can achieve smooth finishes, remove rough patches, and even contour surfaces. Understanding how to use a flap disc for wood is essential for maximizing its potential while ensuring a safe, efficient, and high-quality finish on your woodworking projects.
What Is a Flap Disc?
Before delving into how to use a flap disc for wood, it’s important to understand what it is and why it’s suitable for wood finishing.
A flap disc is made from multiple layers (or “flaps”) of abrasive material such as aluminum oxide or zirconia, which are mounted on a backing plate. These flaps are arranged in a circular pattern, providing a combination of grinding and polishing action as they wear down. The main advantage of flap discs is that they provide a consistent finish, can remove material quickly, and are much cooler than traditional grinding wheels, making them less likely to damage the workpiece.
Flap discs are available in different grit levels, with coarser grits designed for heavy material removal and finer grits used for smoothing and finishing. When working with wood, selecting the appropriate grit is critical for achieving the desired results.
Types of Flap Discs Suitable for Wood
There are several types of flap discs that can be used for wood. The primary factors to consider are the abrasive material, grit size, and the angle at which the disc is mounted. Below are some of the common types used in woodworking:
-
-
Best for: General-purpose wood sanding
-
Use case: Aluminum oxide is a popular abrasive that works well on wood. It is durable and provides a consistent cut, making it suitable for medium to light sanding tasks. These discs are good for shaping, smoothing, and even removing some layers of paint or varnish.
-
-
-
Best for: Heavy sanding and stock removal
-
Use case: Zirconia alumina is more aggressive than aluminum oxide and is perfect for sanding harder woods or dealing with rough surfaces. These discs last longer and can handle more demanding tasks without overheating.
-
-
-
Best for: Fine finishing on harder woods
-
Use case: Ceramic discs are typically reserved for more specialized applications. They’re great for precision work, especially when fine details are involved, as they create a smoother finish than aluminum oxide or zirconia discs.
-
-
-
Best for: Detailed sanding
-
Use case: These discs are designed with woodworkers in mind, particularly for detailed, intricate work. They are flexible and can conform to curves and uneven surfaces.
-
Selecting the Right Grit for Your Project
The grit of a flap disc determines how aggressive it will be in removing material. Here’s a quick guide to help you select the right grit:
-
Coarse Grit (40-60 grit): These are ideal for initial rough sanding, material removal, or reshaping wood. Use them on rough wood or for heavy stock removal.
-
Medium Grit (80-120 grit): Use these flaps for general sanding and smoothing tasks. They provide a nice balance between material removal and finish quality.
-
Fine Grit (150-240 grit): These are perfect for finishing touches, smoothing, and polishing the wood. You’ll want to use these after a medium-grit disc to achieve a fine, smooth surface.
-
Extra Fine Grit (320 grit and above): These are used for ultra-smooth finishes, especially on fine woodworking projects where a pristine surface is required.
Preparing to Use a Flap Disc on Wood
To get the best results, it’s important to prepare both your workspace and the materials you’re working with.
-
Protect Yourself
-
Always wear proper safety gear such as goggles, ear protection, and a dust mask. Flap discs generate fine dust and debris, so it’s essential to protect your eyes and lungs.
-
-
Secure the Wood Piece
-
Whether you’re working with a hand-held wood piece or larger lumber, ensure it’s securely clamped to a workbench or surface. This prevents the piece from shifting while you’re sanding, ensuring both safety and accuracy.
-
-
Choose the Right Flap Disc
-
Select the correct abrasive type and grit based on your project. A coarser grit is better for rough sanding or material removal, while finer grits are better for polishing or finishing.
-
-
Set Your Tool and Speed
-
Most woodworkers use a right-angle grinder or a sander with a flap disc. The speed at which you run the tool should be moderate; running the tool too fast can cause overheating and burn marks on the wood.
-
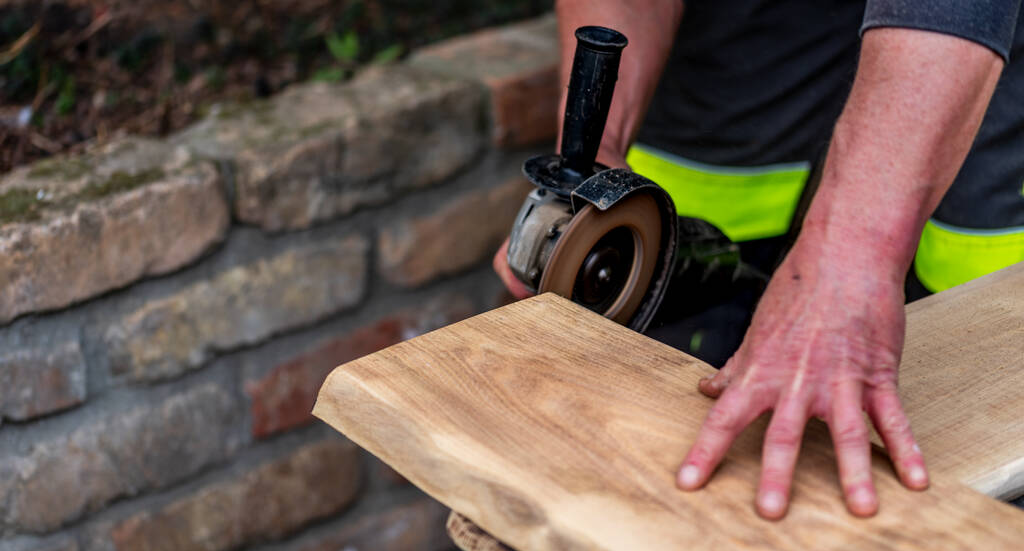
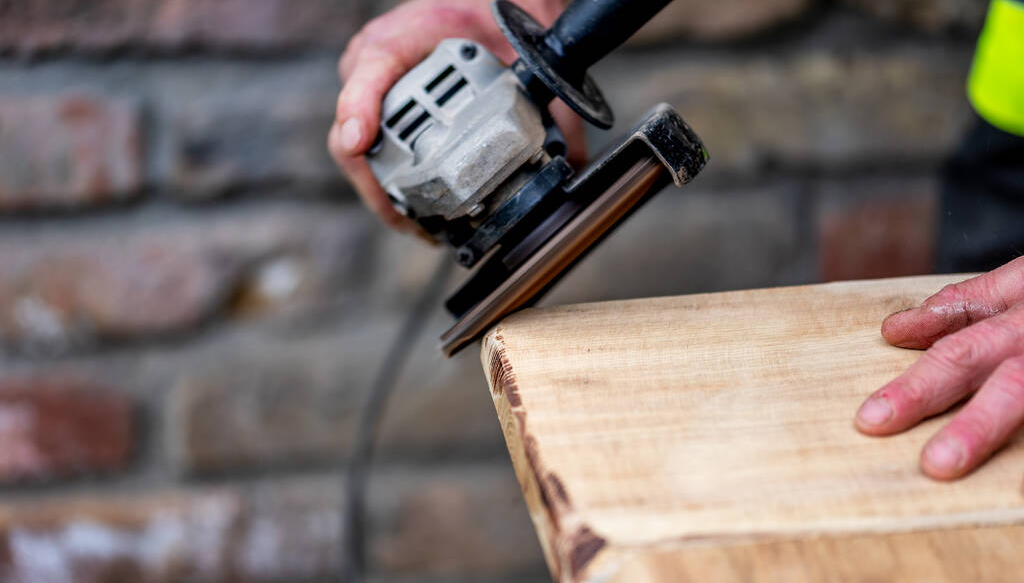
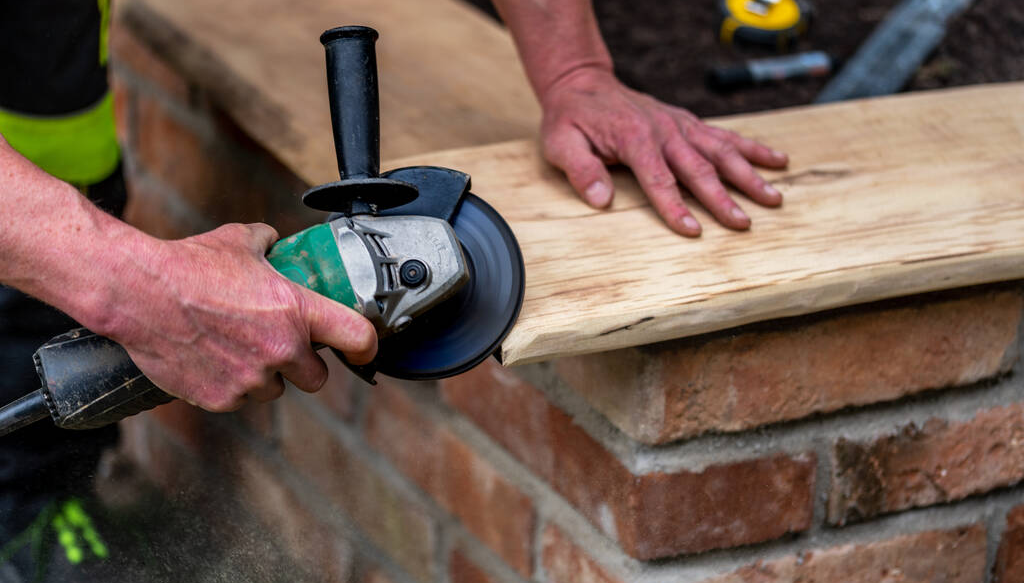
Using the Flap Disc for Sanding Wood
Once you have your flap disc and equipment ready, here’s a step-by-step guide on how to use a flap disc on wood:
-
Begin with the Coarse Grit
-
Start by attaching the coarse-grit flap disc to your grinder. Turn on the tool, making sure the disc is spinning in the correct direction. Gently apply the disc to the wood at a slight angle, moving in the direction of the grain if possible.
-
Keep the grinder moving to avoid creating grooves or uneven sanding. Apply light to moderate pressure and let the abrasive flaps do the work. Start with broad, sweeping motions and focus on rough areas.
-
-
Progress to Medium Grit
-
Once you’ve completed the rough sanding or material removal, switch to a medium-grit flap disc. This helps smooth out the surface, removing any deep scratches or marks from the coarse grit.
-
Continue working along the grain and try to make smooth, consistent passes. If you notice areas that need further attention, focus on them before moving on to the finer grit.
-
-
Finish with a Fine or Extra Fine Grit
-
For the final stage, use a fine or extra-fine grit flap disc. This will help you achieve a smooth finish, eliminating any remaining imperfections. For wood projects that require high-quality finishes, consider using a polishing attachment after sanding to achieve a mirror-like surface.
-
-
Inspect the Surface
-
After each sanding stage, take a moment to inspect the wood. Wipe the surface down to remove any dust and see the finish clearly. This helps you identify areas that need additional attention and ensures you’re progressing toward the desired result.
-
Tips for Best Results
-
Don’t Over-Apply Pressure: Allow the flap disc to do the work. Pressing too hard can cause uneven wear, damage the wood, or even cause the tool to overheat.
-
Use the Right Speed: Operating the tool at the right speed will prevent overheating. Too high a speed may burn the wood, while too low can reduce efficiency.
-
Maintain the Flap Disc: As the flaps wear down, the disc may lose its efficiency. Rotate or replace the disc when necessary to maintain optimal performance.
-
Keep the Tool Moving: This is crucial in preventing heat buildup and ensuring an even finish. Moving the grinder constantly reduces the chance of burn marks or damage to the wood.
Common Mistakes to Avoid
-
Using the Wrong Grit for the Job
-
Always select a flap disc with the appropriate grit for the project. Using a coarse grit for delicate work can damage the wood, while using a fine grit for rough sanding will be inefficient.
-
-
Sanding Against the Grain
-
For the best results, always sand in the direction of the grain. Sanding against the grain can cause scratches and result in an uneven finish.
-
-
Not Cleaning the Surface Between Stages
-
It’s essential to remove dust and debris after each sanding stage. If you don’t clean the surface, the dust can clog the flaps, reducing their effectiveness and causing uneven sanding.
-
Final Thoughts
Using a flap disc for wood can dramatically speed up the sanding and finishing process, provided that it’s done correctly. By choosing the right flap disc and grit for your project, maintaining the proper sanding technique, and making the necessary tool adjustments, you can achieve a smooth, professional-looking finish on your woodworking pieces. Whether you’re removing rough patches, shaping edges, or performing delicate detail work, a flap disc can be an invaluable tool in your woodworking arsenal.
By understanding how flap discs work and knowing when to use coarse, medium, and fine grits, you can ensure the best possible results and take your woodworking projects to the next level.