
Drill bits are an essential tool for any DIY enthusiast or professional tradesperson. Over time, drill bits tend to become dull, resulting in decreased performance and efficiency. However, sharpening drill bits can breathe new life into them, saving you money and improving your workmanship. While there are various methods to sharpen drill bits, one effective and accessible approach involves using an angle grinder. In this article, we will guide you through the step-by-step process of sharpening drill bits with an angle grinder, along with tips on choosing the right grinding disc.
Why Use an Angle Grinder?
An angle grinder is a versatile power tool that can be equipped with different attachments to perform a wide range of tasks. When it comes to sharpening drill bits, an angle grinder offers several advantages. It provides a high-speed rotating grinding wheel, capable of removing material quickly and efficiently. Additionally, angle grinders are commonly available, making them a cost-effective solution for sharpening drill bits at home.
Choosing the Right Grinding Disc
Before diving into the process, it is crucial to select the appropriate grinding disc for your angle grinder. The choice of grinding disc depends on the type of drill bit material, size, and the specific sharpening requirements. Here are some common grinding discs suitable for sharpening drill bits:
- Aluminum Oxide: This is a versatile grinding disc suitable for most drill bit materials, including high-speed steel (HSS) and carbon steel. It offers good durability and works well for general sharpening tasks.
- Silicon Carbide:Silicon carbide discs are suitable for sharpening softer drill bits made of low-carbon steel or cast iron. They are also useful for removing larger amounts of material quickly.
- Zirconia Alumina:Zirconia alumina discs are designed for heavy-duty sharpening tasks. They are best suited for sharpening large-sized drill bits or removing tough materials.
When selecting a grinding disc, consider its compatibility with your angle grinder. Ensure that the disc size matches the grinder’s specifications and that it is designed for the materials you will be sharpening.
How to Sharpen Drill Bits with an Angle Grinder?
Now that we have a basic understanding of the equipment involved, let’s delve into the step-by-step process of sharpening drill bits with an angle grinder.
Step 1: Safety Precautions
Before beginning any power tool operation, it is essential to prioritize safety. Ensure you wear safety goggles, gloves, and a face shield for maximum protection. Secure the workpiece in a vise or clamp to prevent any movement during the sharpening process.
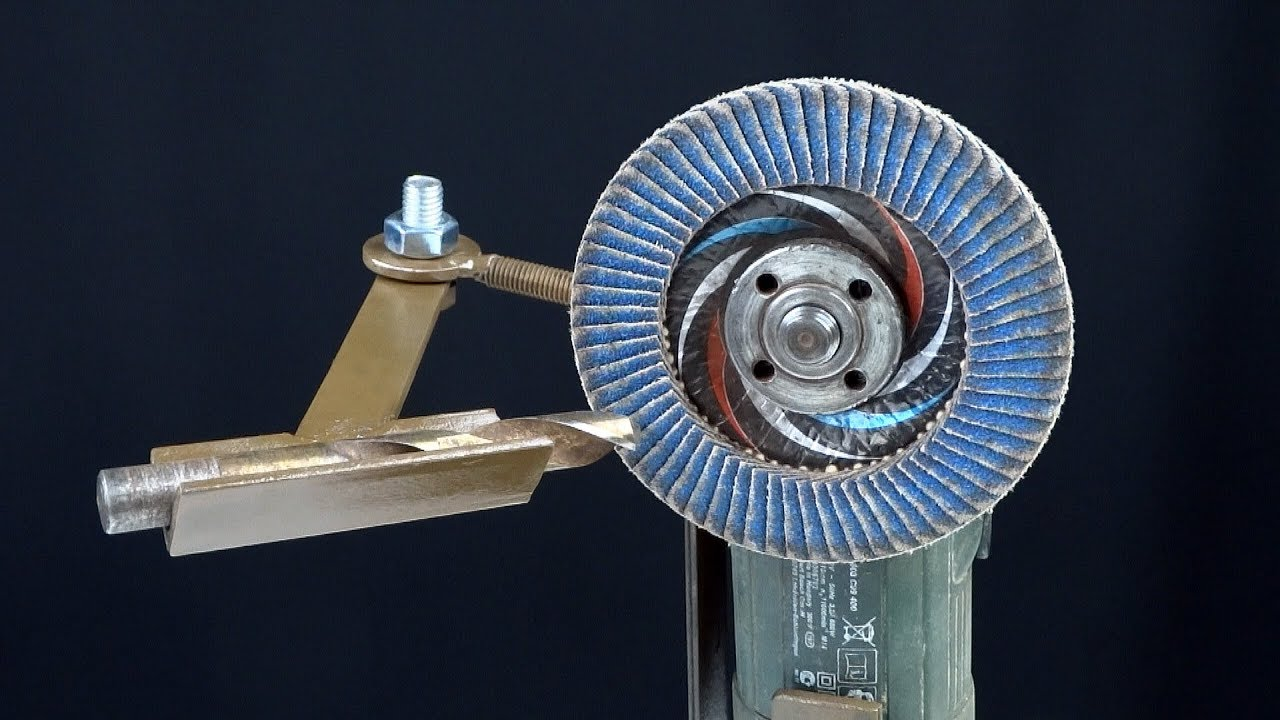
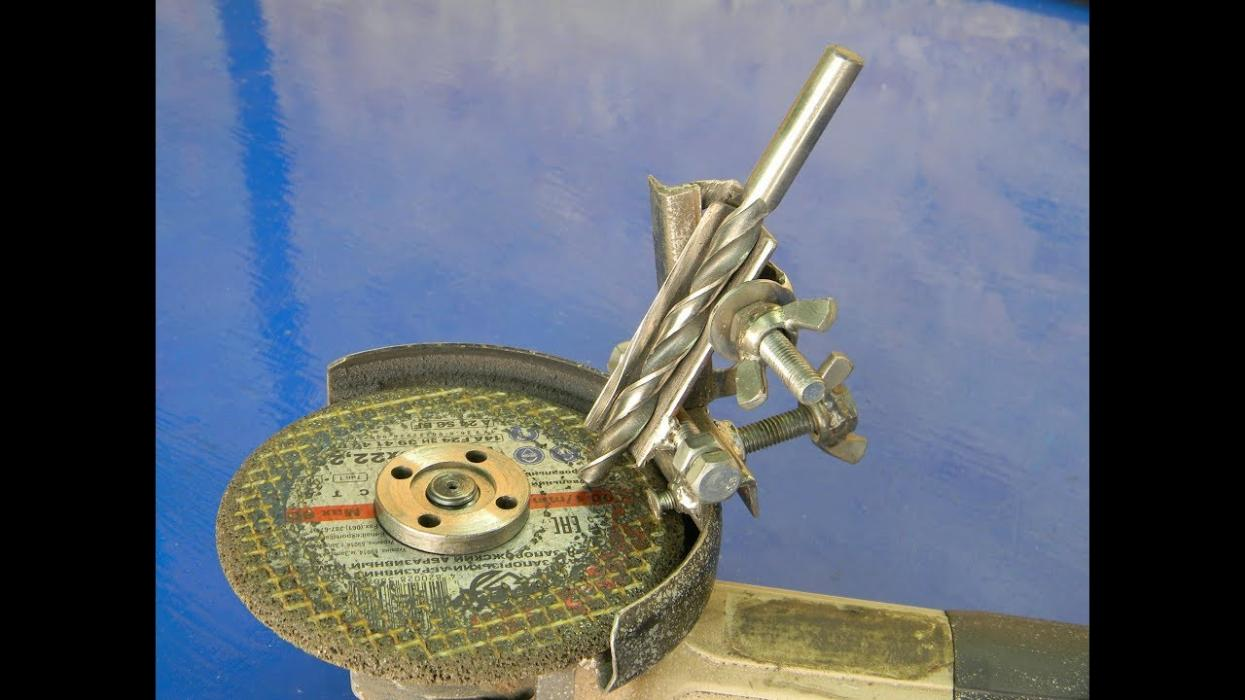
Step 2: Positioning the Angle Grinder
Position the angle grinder securely on a workbench or stable surface. Make sure the grinder is turned off and unplugged before attaching the appropriate grinding disc. Follow the grinding disc manufacturer‘s instructions for attaching and securing the disc properly.
Step 3: Adjusting the Angle
Most drill bits have a standard point angle of 118 degrees. Adjust the angle of the grinder’s tool rest to match this angle. It is essential to maintain a consistent angle throughout the sharpening process for optimal drill bit performance.
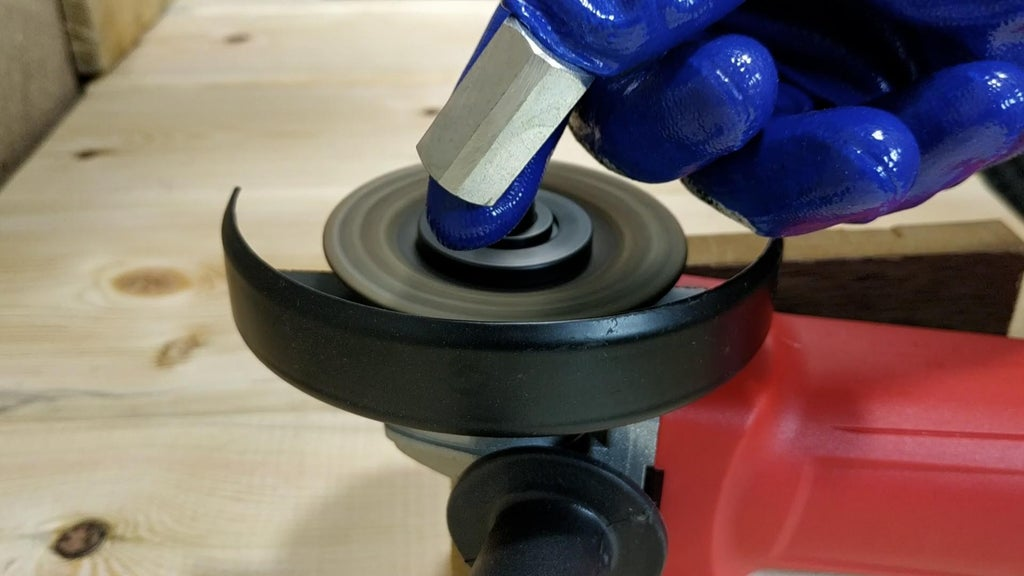
Step 4: Starting the Grinding Process
Switch on the angle grinder and allow the grinding wheel to reach full speed. Carefully bring the drill bit in contact with the grinding wheel at the correct angle. Move the drill bit across the wheel in a smooth and controlled motion, maintaining consistent pressure. Avoid excessive force, as it can lead to overheating and damage to the drill bit.
Step 5: Cooling and Inspection
Periodically dip the drill bit into a container of water to cool it down during the grinding process. Overheating can cause the bit to lose its hardness and temper. Once the initial grinding is complete, inspect the drill bit for any imperfections or irregularities. Repeat the grinding process if necessary until a sharp cutting edge is achieved.
Step 6: Honing the Cutting Edge
To further refine the cutting edge, use a honing stone or fine-grit sandpaper. Hold the drill bit at the same angle as during the grinding process and move it across the honing stone in a circular motion. This step helps to remove any burrs and further sharpens the cutting edge.
Step 7: Final Inspection and Testing
After honing, inspect the drill bit once again to ensure a sharp and even cutting edge. If satisfied, wipe off any metal shavings and test the sharpened drill bit on a suitable material. Assess its performance and make any necessary adjustments or refinements if required.
Conclusion
Sharpening drill bits with an angle grinder is an effective way to extend their lifespan and maintain their cutting efficiency. By following the step-by-step process outlined in this guide, you can achieve professional results from the comfort of your own workshop. Remember to prioritize safety, choose the appropriate grinding disc for your drill bit material, and maintain consistent angles throughout the sharpening process. With practice and proper technique, you can save money on new drill bits and enhance your productivity by keeping your tools sharp and ready for action.