
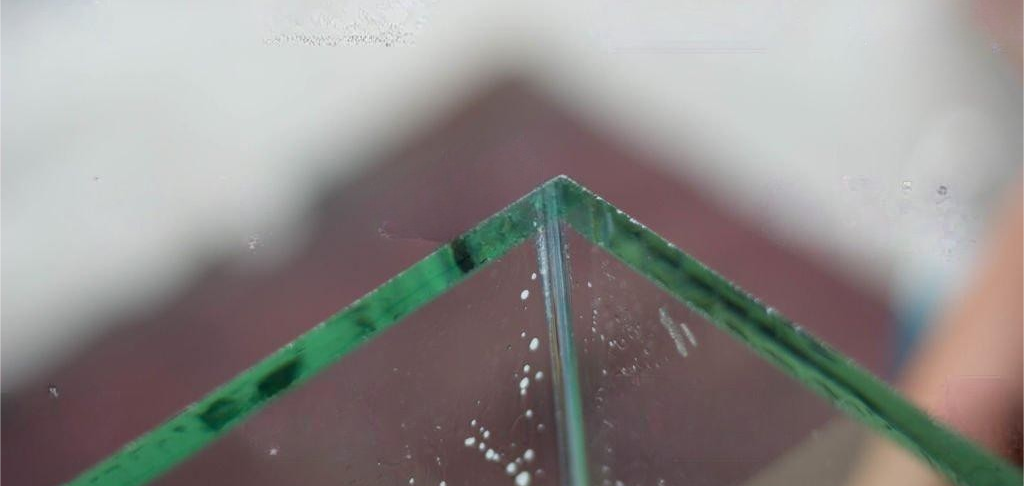
Glass objects can be found everywhere, from windows and mirrors to glassware and jewelry. However, rough and sharp edges on glass objects can be uncomfortable to handle and even dangerous. Sanding glass edges by hand is a simple process that can help smooth out these edges and create a safe and comfortable surface to work with.
Now, we will go through the steps for sanding glass edges by hand and provide tips for achieving a polished and smooth finish. Whether you’re working on a DIY project or just want to improve the safety of your glass objects, hope this guide will help you achieve the desired result.
What tools are needed for sanding glass?
- Glass object for sanding
- Sandpaper with different grit (80-grit, 120-grit, 220-grit, and 320-grit)
- Water
- A flat surface (such as a table or workbench)
- Safety glasses and gloves
How to sand glass by hand?
Step 1: Choose the Right Sandpaper
The first step in sanding glass edges by hand is to choose the right sandpaper. Sandpaper comes in different grit sizes, which determine how coarse or fine the abrasive material is. For sanding glass edges with sandpaper, you will need to use a range of grit sizes, starting with a coarse grit and moving to a finer grit.
For the initial sanding, use 80-grit sandpaper. This will help remove any sharp edges and rough spots. Next, move to 120-grit sandpaper to smooth out the surface further. Follow this up with 220-grit sandpaper, and finish with 320-grit sandpaper for a smooth, polished finish.
Step 2: Prepare the Glass Surface
Before you begin sanding glass, it’s important to prepare the glass surface. Clean the glass with soap and water to remove any dirt, dust, or debris. Dry the glass thoroughly before proceeding. This will ensure that the sandpaper can grip the glass surface properly and provide an even sanding surface.
Step 3: Secure the Glass
Next, you’ll need to secure the glass in place. Place the glass object on a flat surface, such as a table or workbench. Use clamps or a vice to hold the glass securely in place. This will prevent the glass from moving around while you’re sanding and help provide an even sanding surface.
Step 4: Put on Safety Gear
Before starting to sand, put on safety gear to protect yourself. Wear safety glasses to protect your eyes from any debris or shards that may come off during the sanding process. Wear gloves to protect your hands from any rough or sharp edges.
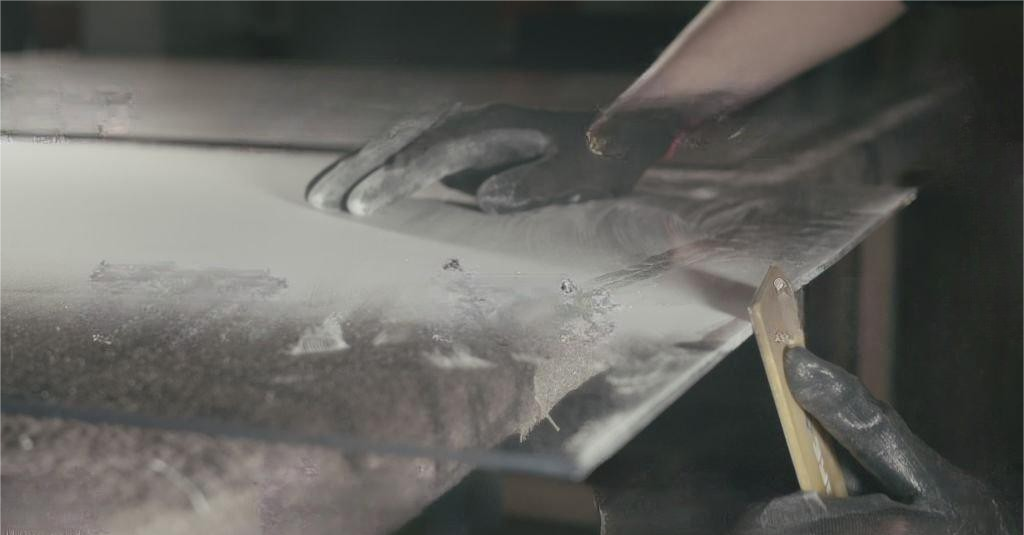
Step 5: Start Sanding
Now it’s time to start sanding. Begin with the 80-grit sandpaper and sand the edge of the glass in a circular motion. Apply gentle pressure and keep the sandpaper wet by dipping it in water periodically. This will prevent the sandpaper from clogging up with glass particles and help provide a smoother sanding surface.
Once you’ve sanded the edge with the 80-grit sandpaper, switch to the 120-grit sandpaper and repeat the process. Then move on to the 220-grit sandpaper and finish with the 320-grit sandpaper. Each time you switch to a finer grit, be sure to sand in a circular motion and keep the sandpaper wet.
Step 6: Check Your Progress
After each sanding step, check your progress. Wipe the glass clean with a dry cloth and inspect the edge for any rough spots or sharp edges. If you notice any rough spots, continue sanding with the current grit until the surface is smooth. Then move on to the next finer grit.
Step 7: Finish Sanding
Once you’ve finished sanding with the 320-grit sandpaper, the glass should be smooth and polished. Wipe the glass clean with a dry cloth to remove any dust or debris. If you notice any remaining rough spots or sharp edges, you can continue sanding with the 320-grit sandpaper or use a higher grit sandpaper to achieve a smoother finish.
Step 8: Clean Up
After you’ve finished sanding the glass, it’s important to clean up any debris or dust that may have accumulated during the process. Use a damp cloth to wipe down the surface of the glass and the work surface. Dispose of any used sandpaper and clean up any leftover water or debris.
Tips for Sanding Glass Edges by Hand:
- Always wear safety glasses and gloves to protect yourself from debris or shards.
- Keep the sandpaper wet to prevent clogging and provide a smoother sanding surface.
- Sand in a circular motion to achieve an even sanding surface.
- Use a range of grit sizes, starting with a coarse grit and moving to a finer grit.
- Inspect the glass edge after each sanding step to ensure that the surface is smooth and polished.
- Secure the glass in place to prevent it from moving around while you’re sanding.
Conclusion:
Sanding glass edges by hand is a simple process that can help smooth out sharp and rough edges, creating a safe and comfortable surface to work with. With the right tools and materials, and by following these steps and tips, you can achieve a polished and smooth surface on your glass object. Remember to always wear safety gear and be careful when handling glass, as it can be fragile and easily broken.