
How To Sand Down a Door That Won’t Close
If you have a door that won’t close properly, one of the most common causes is that it’s rubbing against the door frame or the floor. This can be caused by a number of factors, including humidity, temperature changes, settling of the house, or simply the natural wear and tear of the door over time. Fortunately, you can often fix this problem by sanding down the areas of the door that are causing it to stick. In this article, we’ll walk you through the steps for sanding down a door that won’t close.
Materials Needed:
- Sandpaper (150-grit and 220-gritsandpaper)
- Sanding block or electric sander
- Masking tape
- Pencil or marker
- Sawhorses or a workbench
How to Sand Down a Door?
Now that you have everything you need, you can start sanding the door. Here are the steps:
Step 1: Remove the Door
The first step in sanding down a door is to remove it from its hinges. This will make it much easier to work on the door and ensure that you don’t accidentally damage the door frame or the hinges while sanding. Lay the door flat on sawhorses or a workbench, so that you can easily access all sides of the door.
Step 2: Identify the Areas That Need Sanding
Once you’ve removed the door, the next step is to identify the areas of the door that are causing it to stick. The most common areas are the top, bottom, and sides of the door. Use a pencil or marker to mark the areas that need sanding. You can also use masking tape to mark the areas, which will make it easier to see where you need to sand.
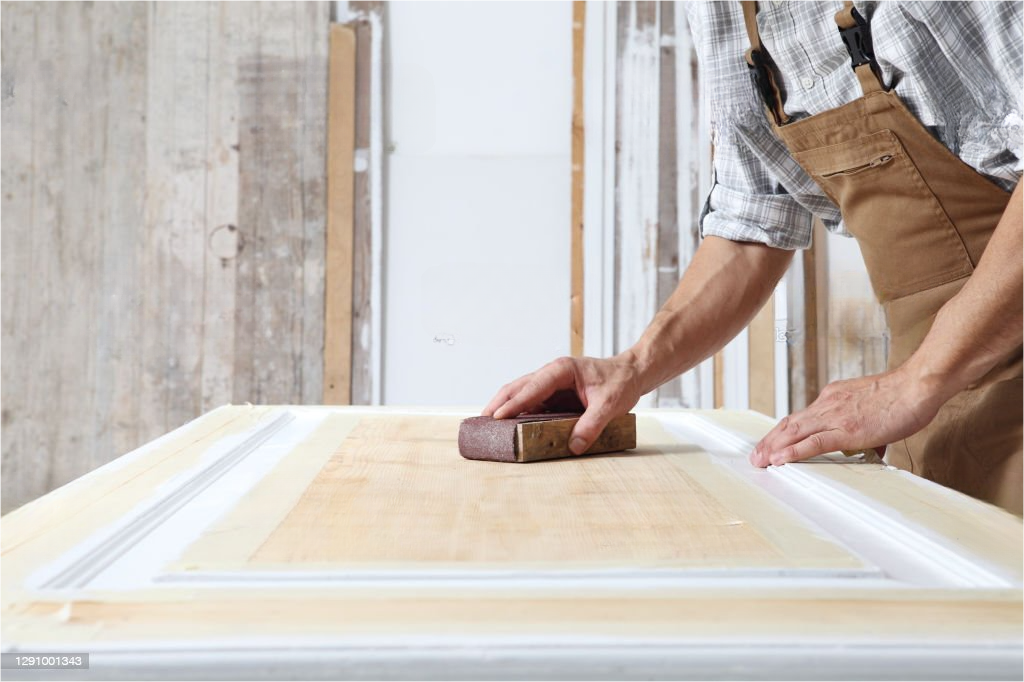
Step 3: Sand the Door
Once you’ve identified the areas that need sanding, it’s time to start sanding the door with sandpaper. You can use a sanding block or an electric sander, depending on your preference. Start with a coarse sandpaper, such as 150-grit sandpaper, to remove any high spots on the door. Be sure to sand evenly and avoid sanding too much in one spot, as this can create an uneven surface.
Once you’ve removed the high spots, switch to a finer sandpaper, such as 220-grit, to create a smooth surface. Again, sand evenly and avoid sanding too much in one spot. Keep sanding until you’ve achieved the desired level of smoothness.
Step 4: Check the Fit
Once you’ve finished sanding the door, it’s time to check the fit. Reinstall the door on its hinges and see if it closes properly. If it still doesn’t close properly, you may need to continue sanding the areas that are causing it to stick. If you’ve sanded too much, you may need to use wood putty to fill in any gaps or cracks.
Step 5: Finish the Door
Once you’re satisfied with the fit of the door, it’s time to finish it. You can use a wood stain or paint to finish the door, depending on your preference. Follow the manufacturer’s instructions for the product you’re using, and be sure to apply the finish evenly and avoid drips.
Q & A about sanding down a door
- How do I know if sanding is the right solution for my door that won’t close?
If your door is rubbing against the frame or jamb, sanding is likely to be a good solution. You can identify this issue by examining the gap between the door and the frame, and seeing if it’s uneven. However, if the door is warped or damaged in some other way, sanding may not be effective.
- Can I use a power sander to sand down my door?
Yes, a power sander can speed up the process and make it easier to sand a large door. However, be sure to use the appropriate grit sandpaper and to move the sander in the direction of the wood grain.
- How do I choose the right grit sandpaper for sanding my door?
For initial sanding, use a coarse-grit sandpaper such as 80 or 100 grit. Then, move on to finer-grit sandpapers such as 150 or 220 grit to smooth out the surface. If you’re sanding a painted door, you may need to start with an even coarser grit sandpaper.
- Can I sand the door while it’s still on the hinges?
While it’s possible to sand a door while it’s still on the hinges, it’s generally easier and more effective to remove the door first. This will allow you to sand the entire surface of the door without worrying about damaging the hinges or the frame.
- Do I need to apply a finish to the door after sanding it down?
If you sanded the door down to bare wood, it’s a good idea to apply a finish to protect the wood and give it a finished look. A clear coat or a stain and sealer can both work well. If the door was already finished, you may not need to apply another finish after sanding it.
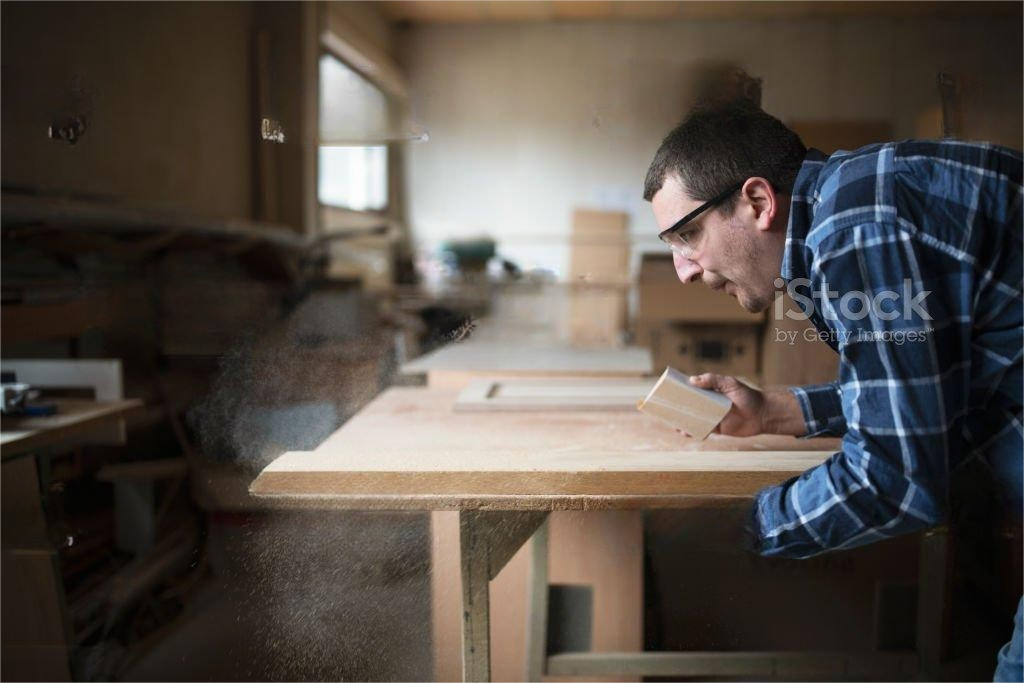
- How do I avoid sanding too much off the door?
To avoid sanding too much off the door, start with a coarse-grit sandpaper and only sand the areas that are rubbing against the frame or jamb. Check your progress frequently with a straightedge or level, and switch to a finer-grit sandpaper when the high spots are gone.
- How much of the door should I sand down?
You should only sand down the parts of the door that are rubbing against the frame or jamb. It’s important not to sand too much or you may create gaps between the door and the frame that could affect the door’s ability to close properly.
Conclusion:
Sanding down a door that won’t close properly can be a simple and effective solution to the problem. By following the steps outlined in this article, you can sand down the areas of the door that are causing it to stick and ensure that the door closes properly. Remember to take your time and sand evenly, as this will ensure that the door is smooth and even. With a little bit of effort and the right tools, you can have your door closing properly in no time.