
String trimmers are indispensable tools for maintaining a well-manicured lawn. From trimming grass along sidewalks to edging around flower beds, these versatile machines make lawn care tasks much easier. However, when it comes to tackling tougher jobs like removing stubborn weeds and moss from hard surfaces, a string trimmer alone may not suffice. That’s where wire brushes come in handy. Mounting a wire brush on your string trimmer can significantly enhance its versatility, allowing you to tackle a wider range of tasks with ease. In this comprehensive guide, we’ll walk you through the process of mounting a wire brush on your string trimmer, step by step.
Steps to Attach Wire Brushes to String Trimmer
Step 1: Gather Your Materials
Before you begin, make sure you have all the necessary materials and tools on hand. Here’s what you’ll need:
- String trimmer
- Wire brush attachment
- Safety goggles
- Gloves
- Allen wrench or screwdriver (depending on your trimmer model)
- Workbench or stable surface
Step 2: Ensure Safety Precautions
Safety should always be your top priority when working with power tools. Before you start mounting the wire brush, put on your safety goggles and gloves to protect your eyes and hands from debris and potential injuries.
Step 3: Prepare Your String Trimmer
If your string trimmer is powered by electricity or gas, ensure that it is turned off and disconnected from its power source. For gas-powered trimmers, remove the spark plug wire to prevent accidental starts. Lay the trimmer on a stable surface like a workbench to provide better access to the cutting head.
Step 4: Remove the Trimmer Head Cover
Most string trimmers come with a trimmer head cover that houses the trimmer line or blades. To mount the wire brush attachment, you’ll need to remove this cover. Depending on your trimmer model, you may need to use an Allen wrench or screwdriver to loosen and remove the screws or bolts securing the cover in place. Once the cover is removed, set it aside in a safe place.
Step 5: Install the Wire Brush Attachment
With the trimmer head cover removed, you’ll now have access to the trimmer head spindle. Take the wire brush attachment and align it with the spindle, making sure it fits snugly into place. Some wire brush attachments may come with adapters or mounting hardware that need to be attached to the spindle first. Follow the manufacturer’s instructions for proper installation.
Step 6: Secure the Wire Brush Attachment
Once the wire brush attachment is properly aligned with the spindle, secure it in place using the provided hardware or fasteners. Tighten the screws or bolts using an Allen wrench or screwdriver, ensuring that the attachment is firmly attached to the trimmer head.
Step 7: Check for Stability
After securing the wire brush attachment, give it a gentle tug to ensure that it is firmly mounted and doesn’t wobble or come loose. If everything is secure, you’re ready to move on to the next step.
Step 8: Reassemble the Trimmer Head Cover
With the wire brush attachment securely mounted, it’s time to reassemble the trimmer head cover. Place the cover back over the trimmer head, aligning it with the mounting holes. Use the screws or bolts you removed earlier to fasten the cover in place. Tighten them securely to prevent the cover from coming off during operation.
Step 9: Perform a Test Run
Before using your string trimmer with the wire brush attachment, it’s essential to perform a test run to ensure everything is working correctly. Reconnect the trimmer to its power source (if applicable) and start the engine according to the manufacturer’s instructions. With the engine running, engage the trimmer head and observe the wire brush attachment in action. Make sure it spins smoothly and doesn’t vibrate excessively. If everything looks good, you’re ready to put your newly equipped string trimmer to work!
Exploring Wire Brush Attachments: Types and Uses
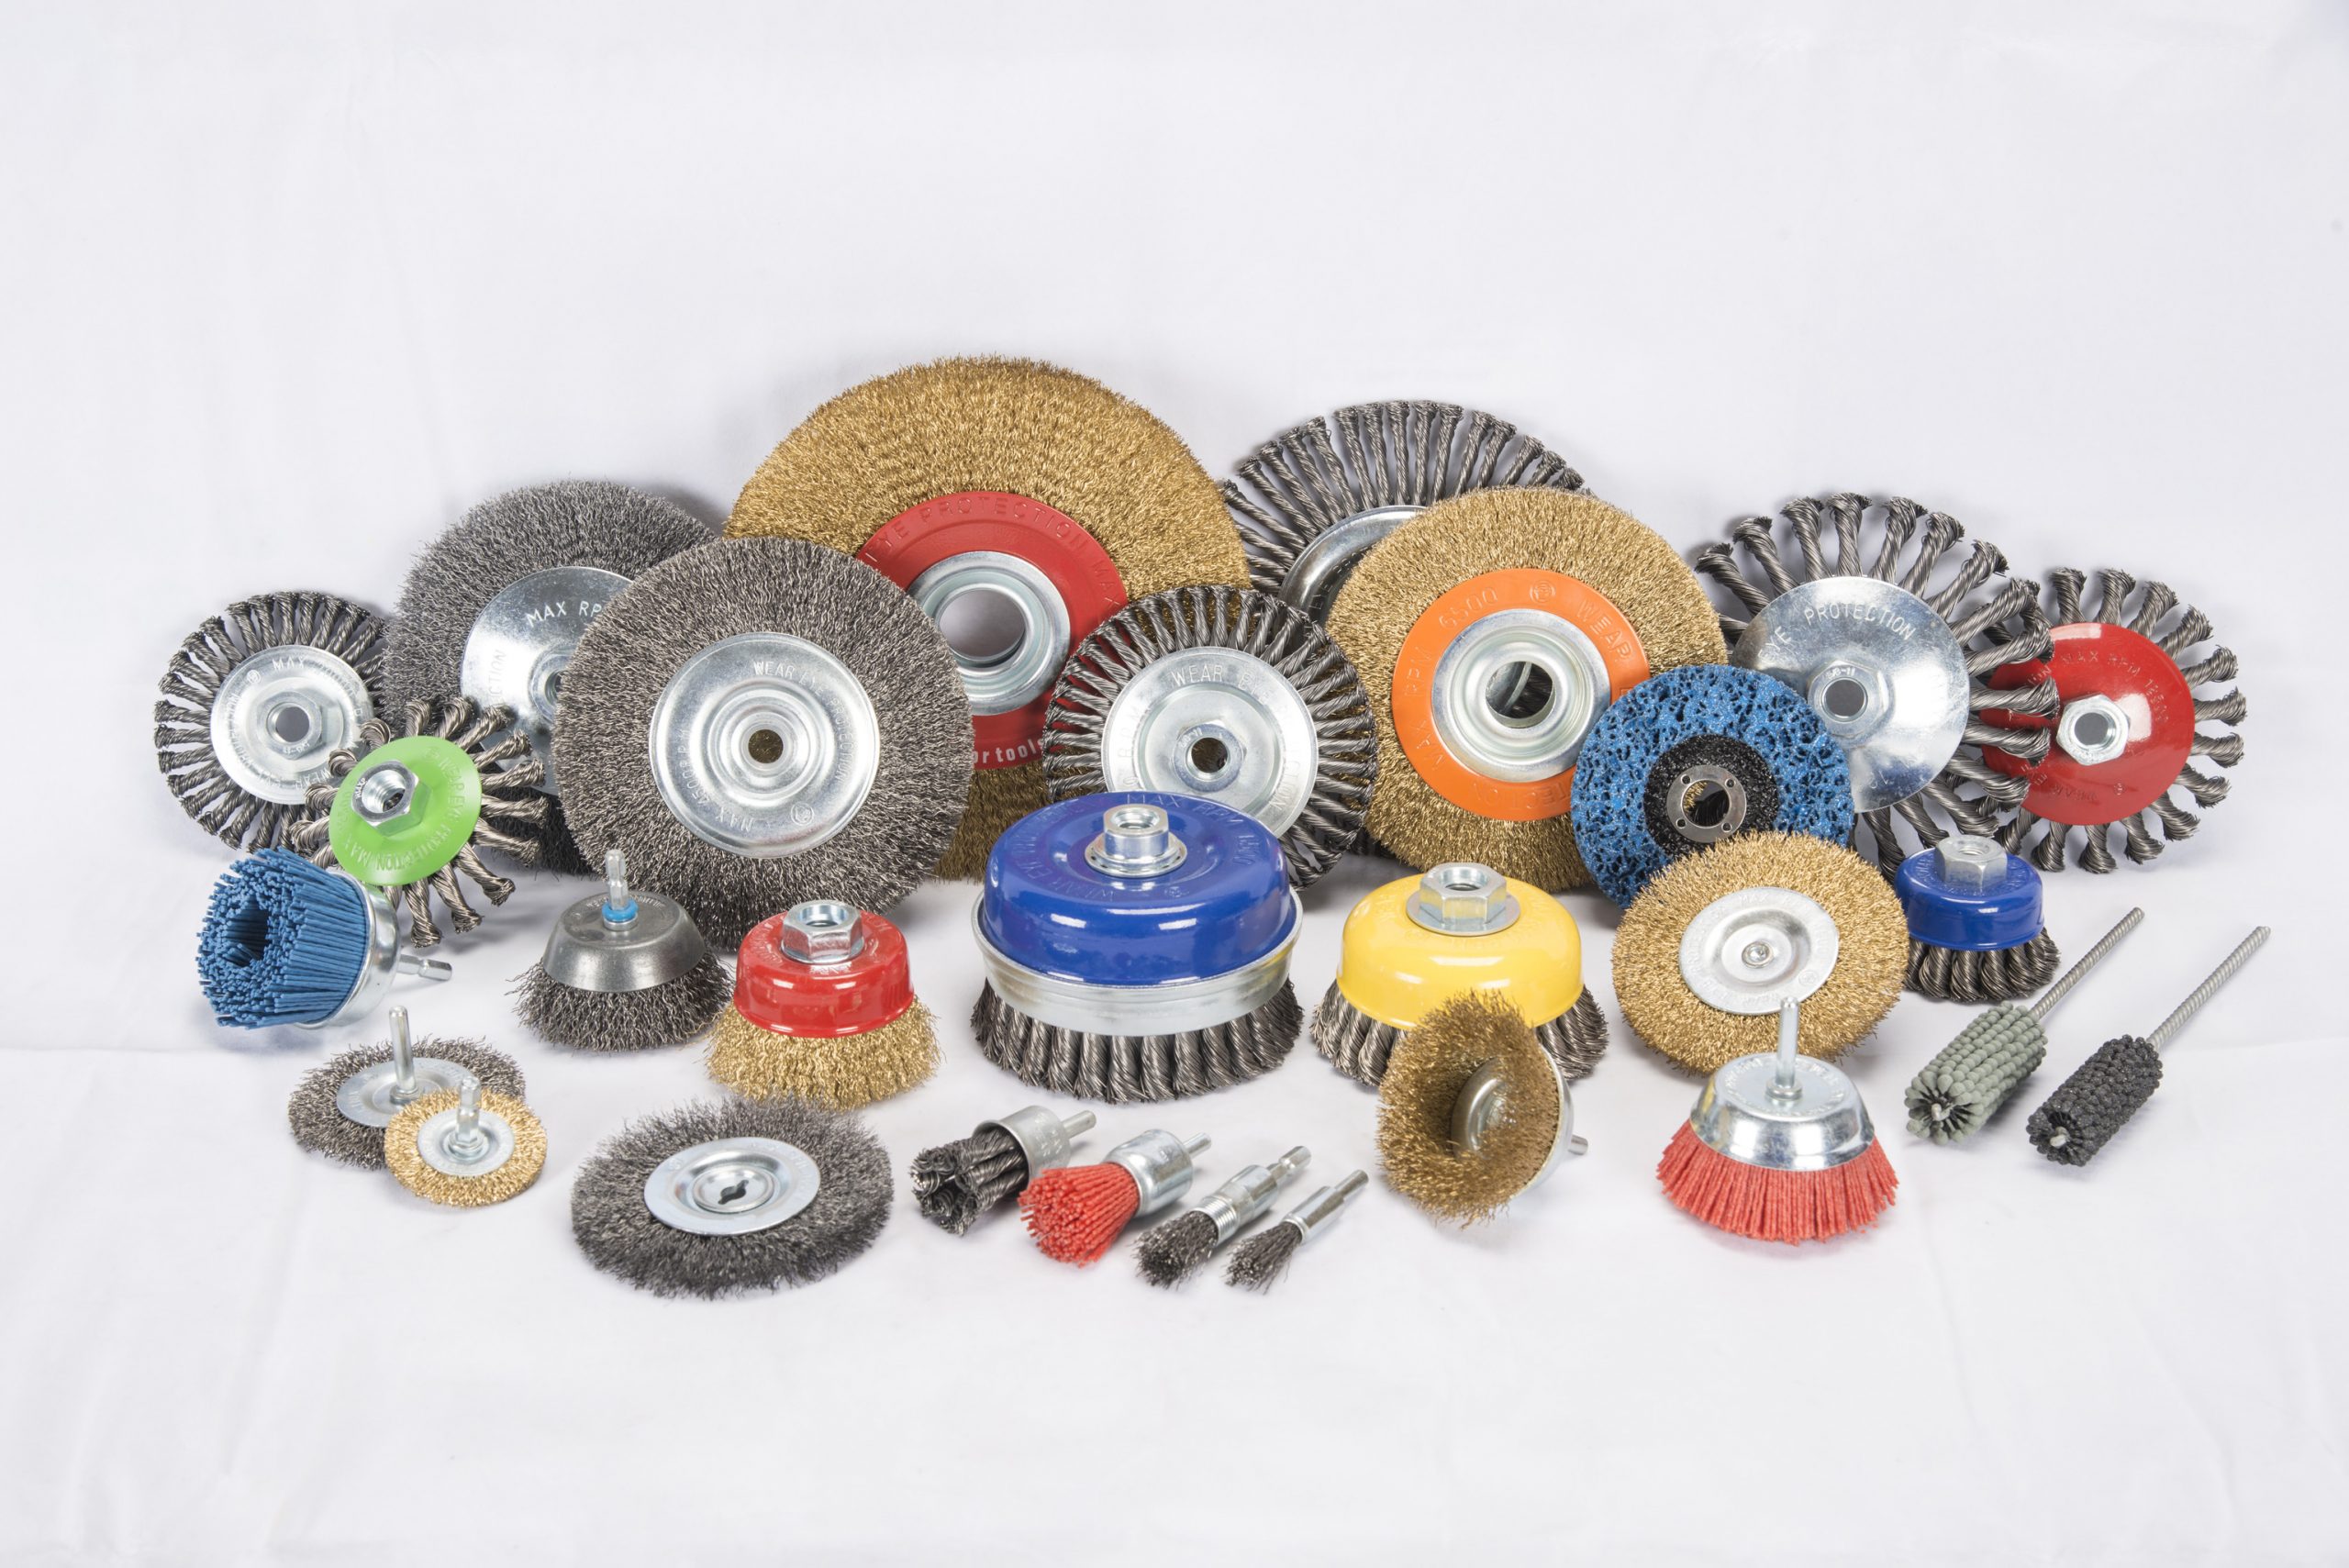
Wire brush attachments come in various shapes, sizes, and materials, each designed for specific applications. Here are some common types of wire brush attachments and their uses:
- Flat Wire Brushes: Ideal for removing rust, paint, and corrosion from flat surfaces such as metal fences, decks, and patio furniture.
- Cup Wire Brushes:Shaped like a cup, these brushes are excellent for cleaning curved or irregular surfaces like pipes, engine parts, and grills.
- Wheel Wire Brushes:Similar to cup brushes but with a flat profile, wheel brushes are suitable for cleaning large, flat surfaces such as concrete driveways and garage floors.
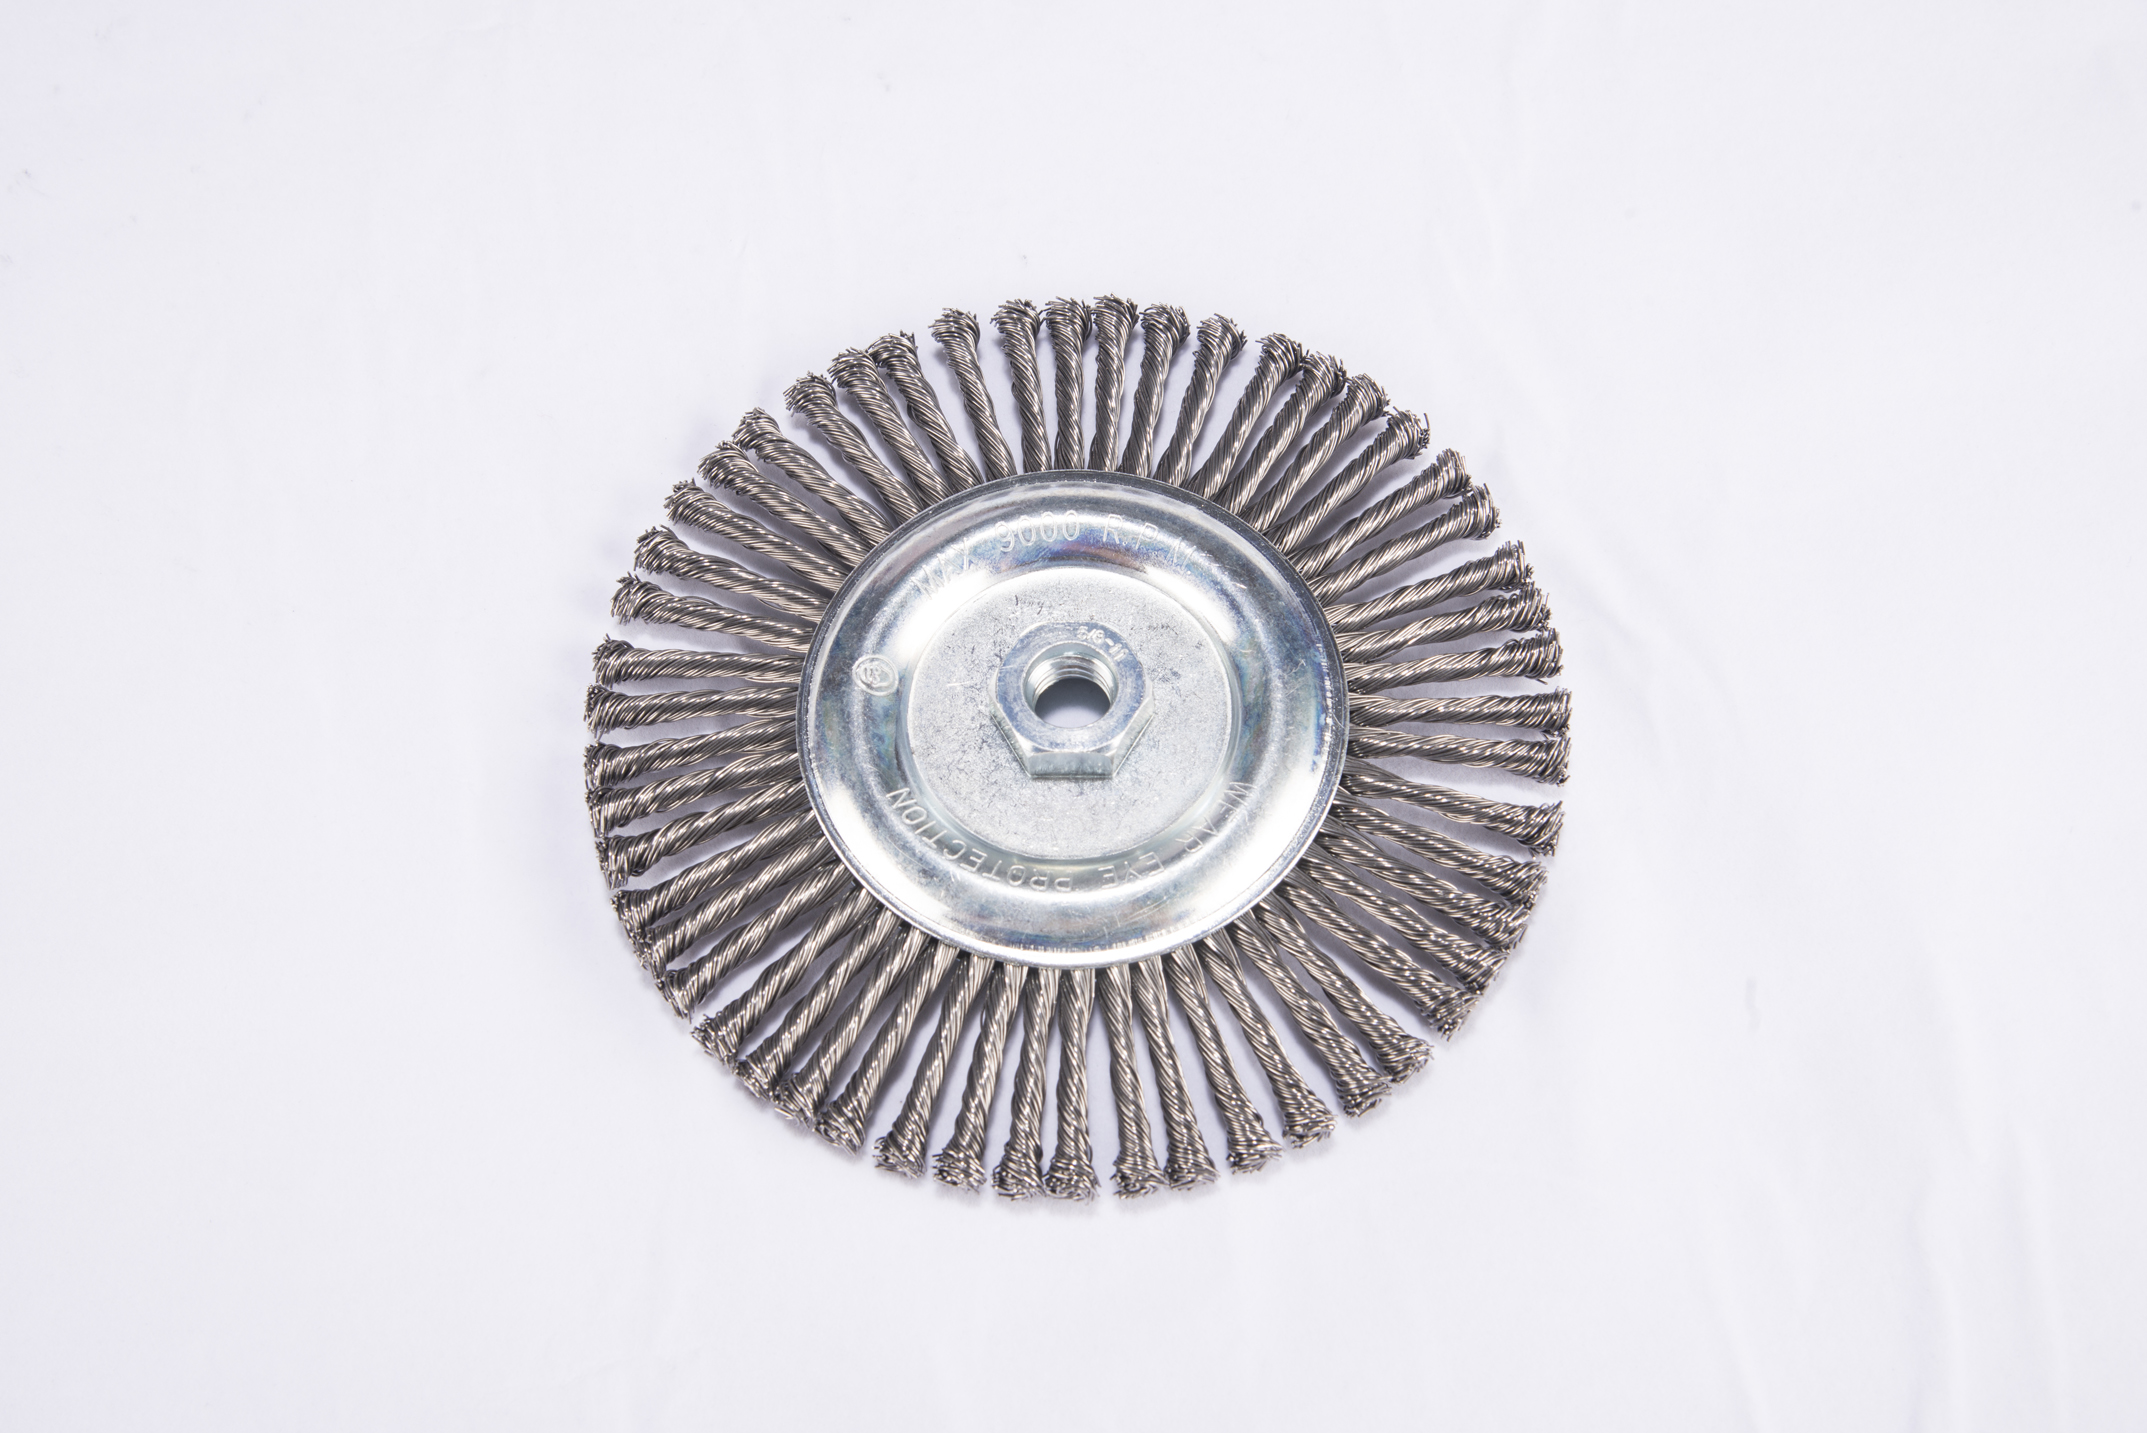
- Twisted Wire Brushes: Featuring twisted wire bristles, these brushes are effective for aggressive cleaning and heavy-duty applications like removing weld slag and scale.
- Wire Brush Wheels: Mounted on a spindle, wire brush wheels are designed for use with bench grinders or power drills, making them versatile tools for various cleaning and deburring tasks.
By choosing the right type of wire brush attachment for your string trimmer, you can achieve optimal results and maintain your outdoor spaces with ease.
Conclusion:
Mounting a wire brush on your string trimmer is a straightforward process that can significantly expand its capabilities. Whether you need to remove weeds, moss, or rust from hard surfaces, a wire brush attachment allows you to tackle these tasks with ease. By following the step-by-step guide outlined above, taking the necessary safety precautions, and exploring the different types of wire brush attachments available, you can mount a wire brush on your string trimmer and achieve professional-quality results in your lawn maintenance endeavors.