
What is Car Refinishing?
Car refinishing, also known as auto body refinishing or automotive refinishing, is the process of restoring a damaged or worn-out vehicle’s exterior to its original condition or giving it a new look. This involves repairing any damage to the body, such as dents or scratches, as well as painting or repainting the car to achieve the desired finish.
The process of car refinishing typically involves several steps. First, the damaged areas are assessed and repaired. This may involve removing any dents or scratches, filling in any gaps or holes with filler, and sanding down the surface to ensure a smooth finish. Next, the car is cleaned and prepped for painting. This involves removing any dirt or debris, applying a primer, and masking off any areas that are not being painted.
Sandpaper Role in Car Refinishing
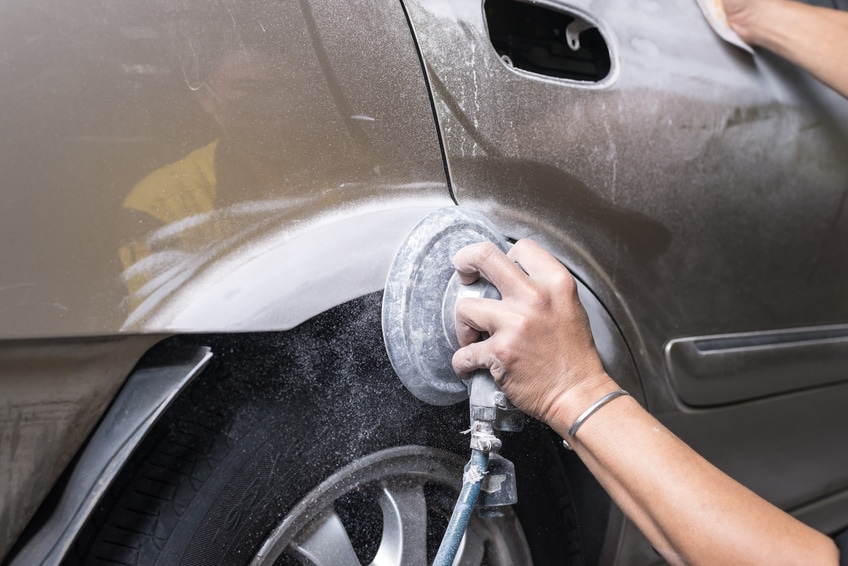
Sandpaper is an important tool used in the process of car refinishing. It is used to sand down the surface of the car, creating a smooth and even surface for painting. The process of sanding involves rubbing the surface of the car with sandpaper to remove any bumps, scratches, or imperfections in the paint.
How to Use Sandpaper Effectively in Car Refinishing?
Sandpaper is a useful assistant for car refinishing, but, if not used effectively, it can damage the surface and ruin the entire refinishing process. Now, we’ll discuss how to use sandpaper effectively in car refinishing.
Step 1: Select the Right Sandpaper
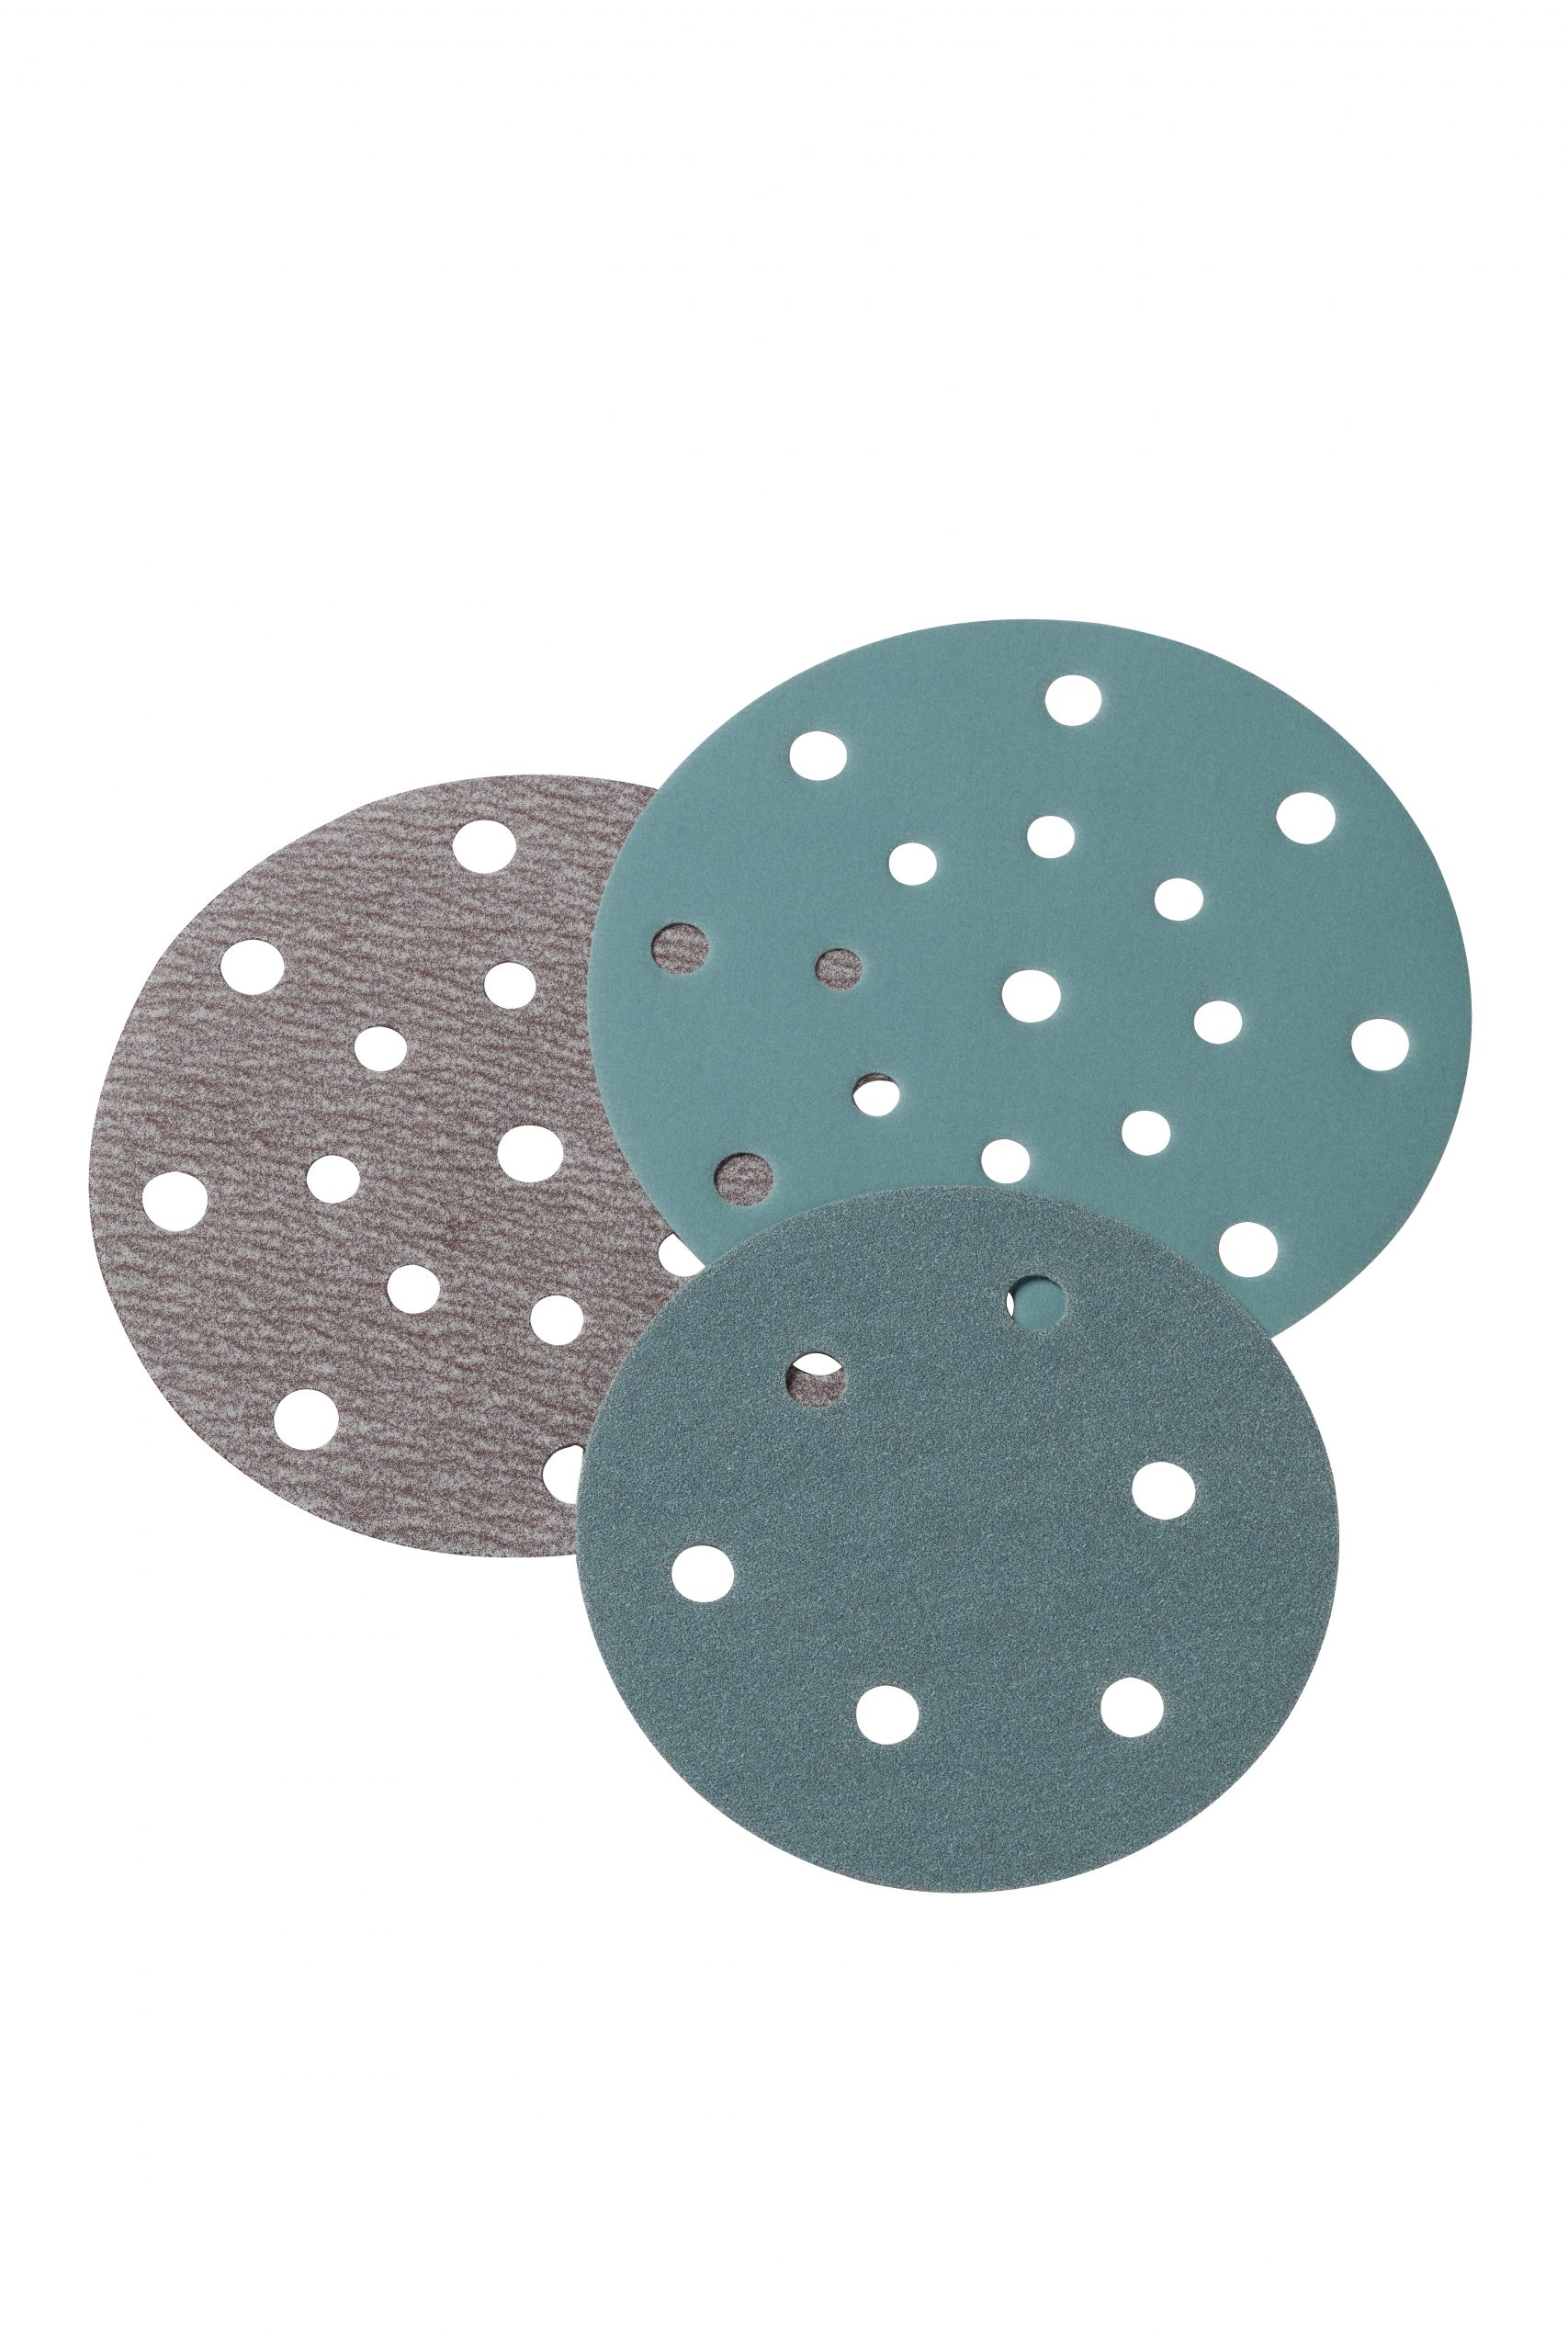
The first step in using sandpaper effectively is selecting the right sandpaper for the job. Sandpaper comes in different grits, from very coarse to very fine. The coarser the sandpaper, the more aggressive it is and the more material it will remove. The finer the sandpaper, the less material it will remove but the smoother the surface will be. The grit you choose will depend on the condition of the surface you’re working on and the type of job you’re doing. For example, if you’re removing old paint or clear coat, you may want to start with a coarser grit like 80 or 120. If you’re just smoothing out imperfections in the paint, you may want to use a finer grit like 320 or 400.
Step 2: Prepare the Surface
Before you start sanding, you need to prepare the surface. This means cleaning it thoroughly to remove any dirt, dust, or debris. You should also remove any wax, grease, or oil that may be on the surface. Use a degreaser or wax remover to do this. Once the surface is clean, you can start sanding.
Step 3: Sanding
When you start sanding, it’s important to keep a few things in mind. First, use a sanding block or pad to ensure that you’re sanding evenly and not creating high spots or low spots. Second, use light pressure and let the sandpaper do the work. Don’t press too hard, or you may damage the surface. Third, sand in the direction of the grain or the body lines of the car. Fourth, use a circular motion to sand the edges or hard-to-reach areas. Finally, use sandpaper with a finer grit for the final sanding to get a smooth finish.
Step 4: Check Your Work
After sanding, check your work to make sure you’ve removed all imperfections and smoothed out the surface. Use a light to look for any scratches, swirl marks, or low spots. If you find any, sand them again with a finer grit sandpaper until you achieve a smooth surface.
Step 5: Wipe Down the Surface
After you’ve finished sanding, wipe down the surface with a clean, dry cloth or tack cloth to remove any dust or debris. Make sure the surface is completely dry before moving on to the next step.
Step 6: Apply Primer
Once the surface is clean and dry, you can apply primer. Primer is important because it helps the paint adhere to the surface and provides a smooth, even base coat. Follow the manufacturer’s instructions for applying primer, and make sure to apply it evenly and in thin coats.
Step 7: Sand the Primer
After the primer has dried, you’ll need to sand it with a fine grit sandpaper. This step is important because it will remove any imperfections in the primer and provide a smooth surface for the paint. Use a sanding block or pad to ensure that you’re sanding evenly and not creating high spots or low spots. Sand the primer until it’s smooth and even.
Step 8: Apply Paint
Once the primer has been sanded, you can apply paint. Again, follow the manufacturer’s instructions for applying the paint, and make sure to apply it evenly and in thin coats. It’s important to let each coat of paint dry completely before applying the next one. This will help prevent runs or drips in the paint.
Step 9: Sand the Paint
After the final coat of paint has dried, you’ll need to sand it with a very fine grit sandpaper. This step is important because it will remove any imperfections in the paint and provide a smooth surface for the clear coat. Use a sanding block or pad to ensure that you’re sanding evenly and not creating high spots or low spots. Sand the paint until it’s smooth and even.
Step 10: Apply Clear Coat
Once the paint has been sanded, you can apply the clear coat. Clear coat is important because it protects the paint and provides a glossy finish. Follow the manufacturer’s instructions for applying the clear coat, and make sure to apply it evenly and in thin coats. Again, let each coat dry completely before applying the next one.
Step 11: Sand the Clear Coat
After the final coat of clear coat has dried, you’ll need to sand it with a very fine grit sandpaper. This step is important because it will remove any imperfections in the clear coat and provide a smooth, glossy finish. Use a sanding block or pad to ensure that you’re sanding evenly and not creating high spots or low spots. Sand the clear coat until it’s smooth and glossy.
Step 12: Buff and Polish
After the clear coat has been sanded, you can buff and polish the surface to achieve a high gloss finish. Use a buffing wheel or pad, and follow the manufacturer’s instructions for the compound or polish you’re using. Make sure to buff and polish evenly and in a circular motion to achieve an even, high gloss finish.
What you should notice when using sandpaper in car refinishing?
- The Type of Sandpaper:
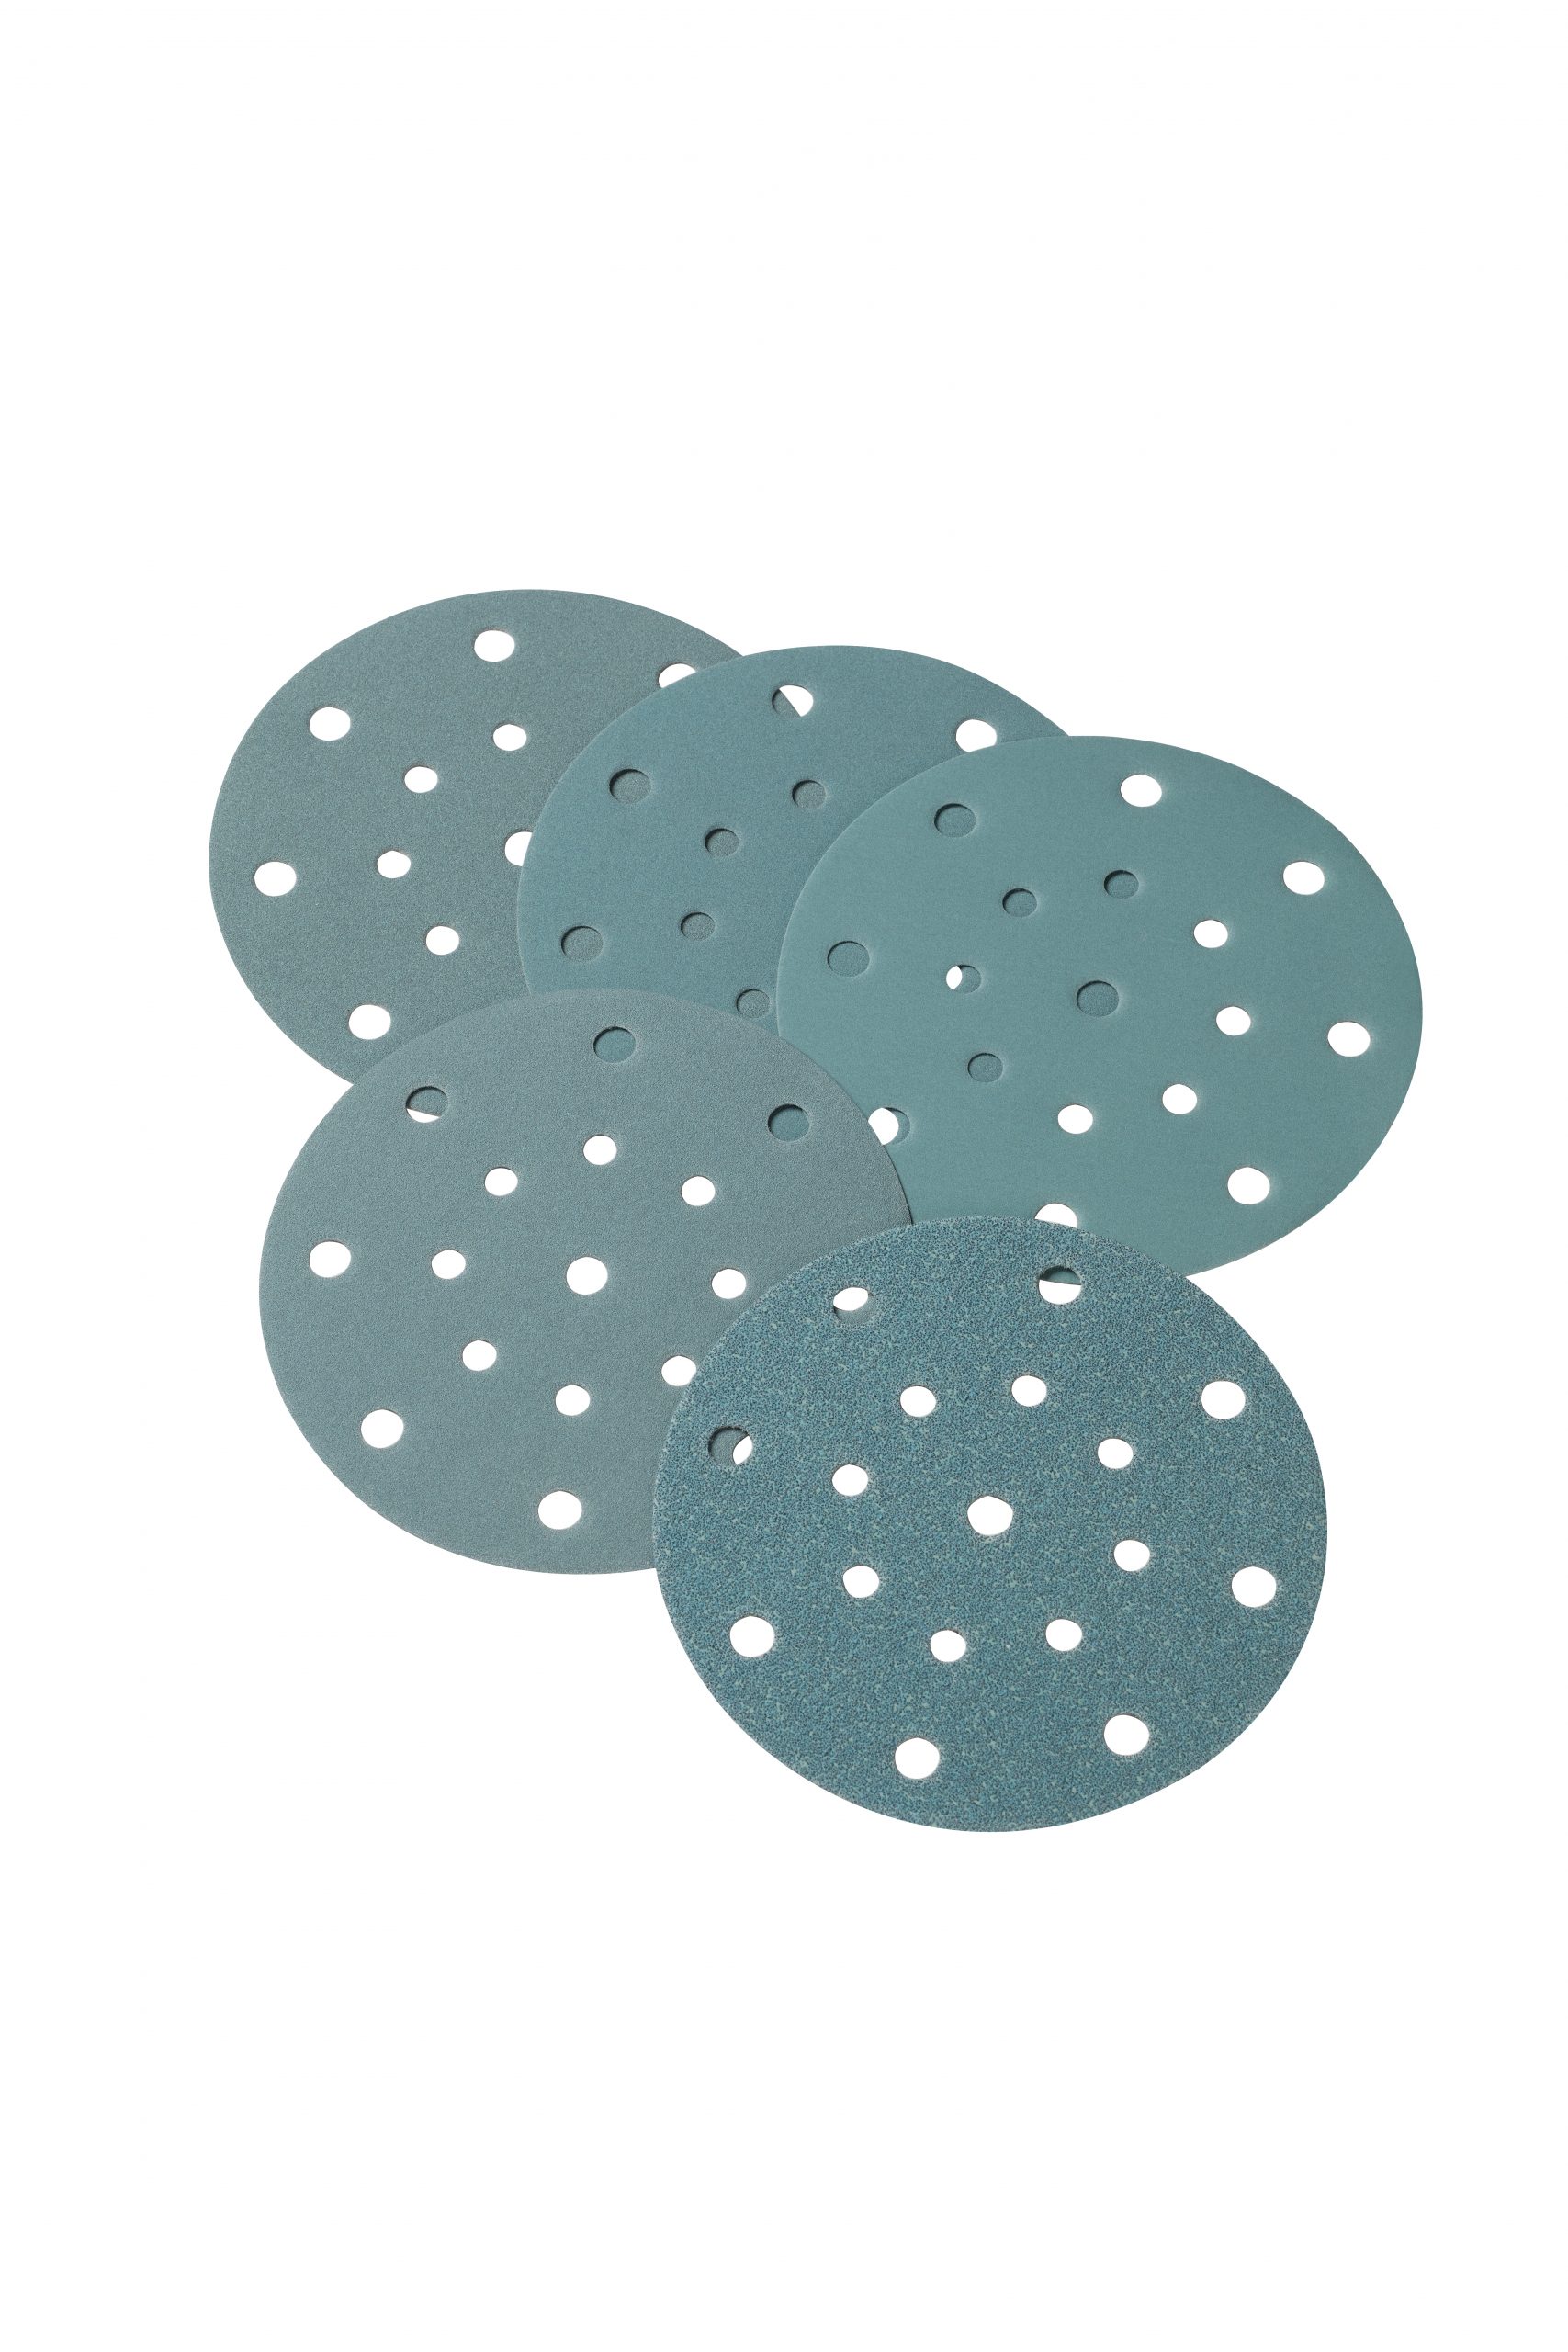
There are different types of sandpaper available, including wet sandpaper, dry sandpaper, and hook and loop sandpaper. Each type of sandpaper has its own advantages and disadvantages, so it’s important to choose the right type of sandpaper for the job at hand.
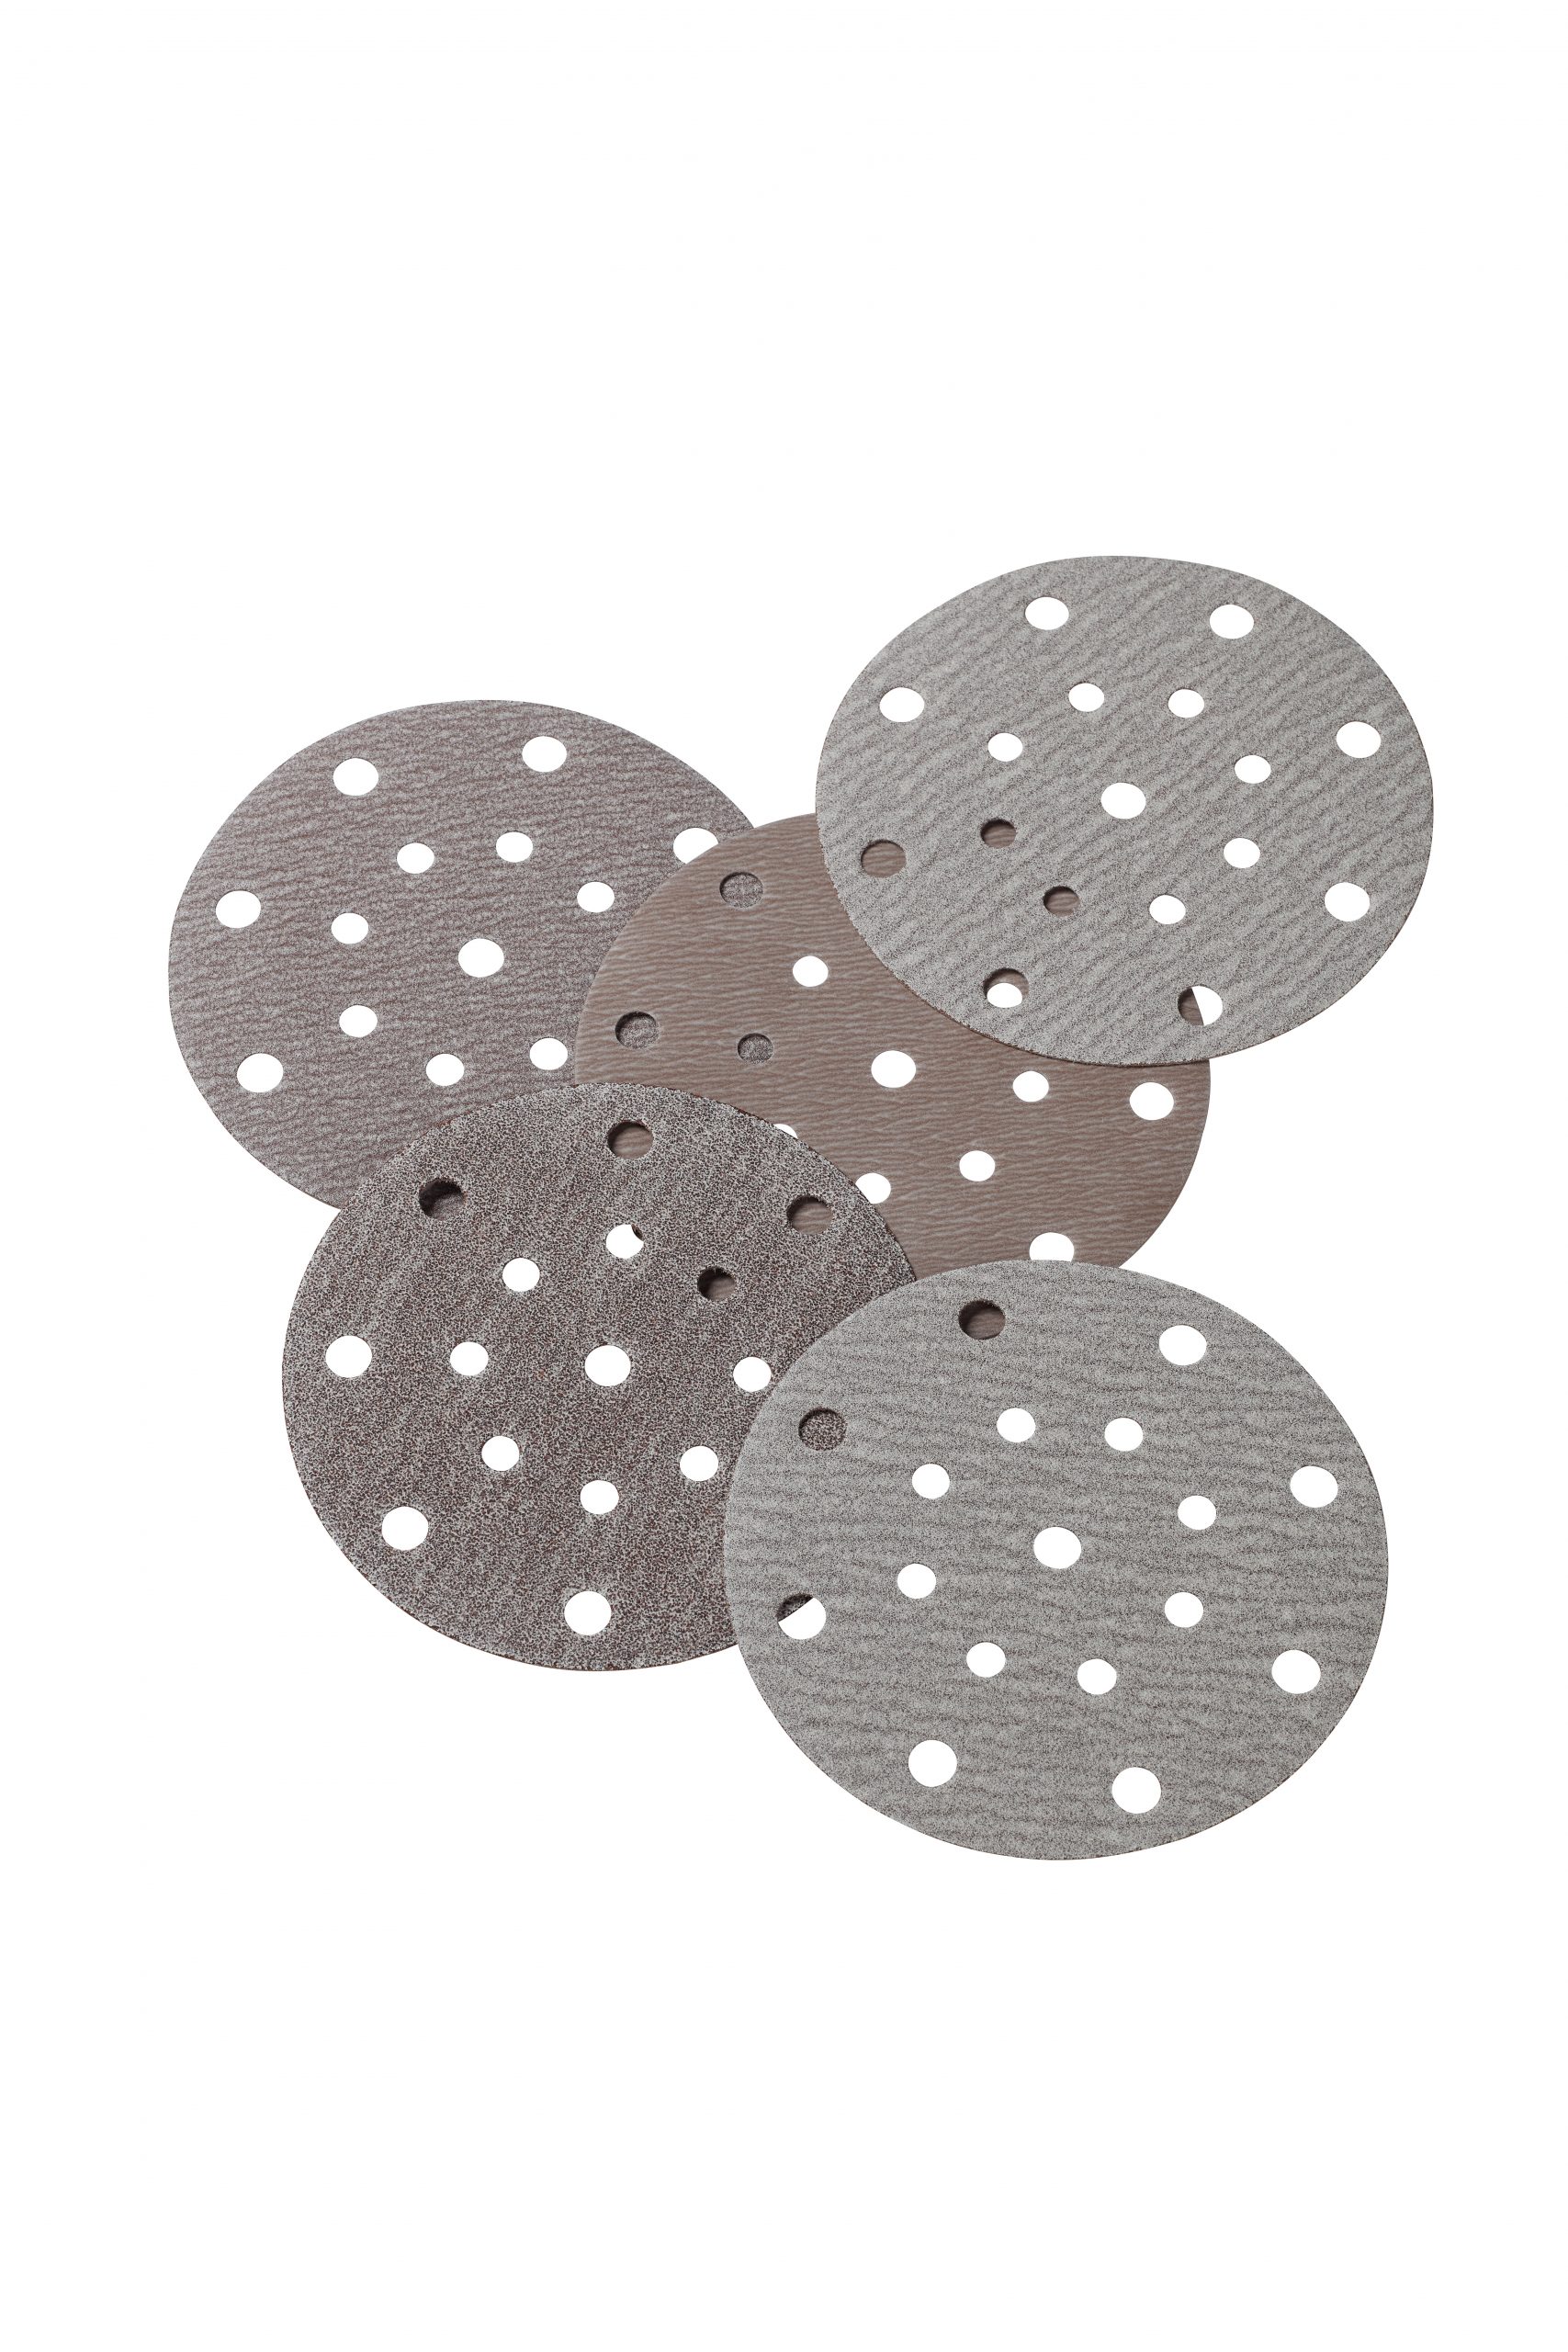
- The Grit of Sandpaper:
The grit of the sandpaper is also an important factor to consider. The grit refers to the coarseness of the abrasive particles on the sandpaper, and it can range from very coarse to very fine. Choosing the right grit of sandpaper is important to achieve the desired level of smoothness and finish.
- The Surface Being Sanded:
The surface that you are sanding can also affect the sanding process. For example, sanding a curved surface may require a different technique or tool than sanding a flat surface. It’s important to choose the right sanding tool or technique for the surface being sanded to ensure an even and smooth finish.
- The Direction of Sanding:
The direction in which you sand can also affect the final result. Sanding in the direction of the grain of the surface can help to avoid leaving visible marks or scratches on the surface.
- The Pressure Applied:
Applying the right amount of pressure is also important when using sandpaper in car refinishing. Applying too much pressure can cause damage to the surface, while too little pressure can result in ineffective sanding. It’s important to apply even pressure when sanding to achieve a smooth and even finish.
- Checking the Surface After Sanding:
After sanding a surface, it’s important to check for any imperfections, such as scratches or rough spots. This will help to ensure that the surface is smooth and ready for the next step in the car refinishing process.
Conclusion
Using sandpaper effectively in car refinishing requires proper preparation, selection of the right grit, even sanding, and thorough checking of the surface after each sanding. It’s also important to follow the manufacturer’s instructions for applying the primer, paint, and clear coat, and to let each coat dry completely before applying the next one. With these steps, you can achieve a smooth, even, and high gloss finish for your car refinishing project.
want to know more? click to visit our website at www.carabrasive.com