
Sandpaper belts are an essential tool in woodworking, metalworking, and various industrial applications. They provide a reliable and efficient means of surface preparation, finishing, and material removal. However, like all tools, sandpaper belts have a finite lifespan. Understanding when to change them is crucial to maintaining productivity, ensuring quality finishes, and maximizing the efficiency of your work. In this comprehensive guide, we’ll explore the signs that indicate it’s time to replace your sandpaper belts, the factors that affect their lifespan, and tips for getting the most out of your sanding belts.
Understanding Sandpaper Belts
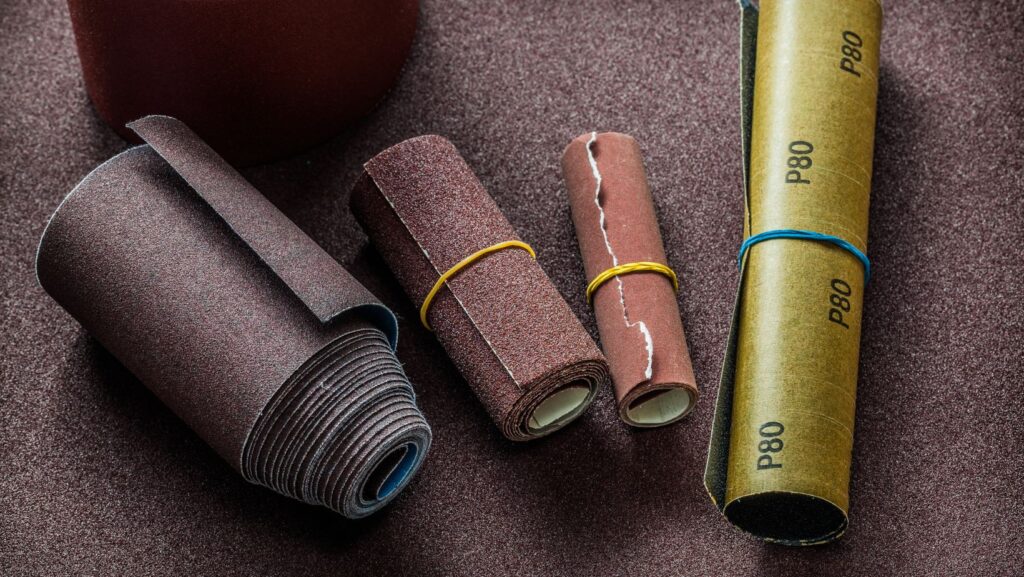
Sandpaper belts are abrasive tools made by bonding abrasive grains to a flexible backing material. They are used in belt sanders and come in various sizes, grits, and materials to suit different applications. The most common materials used for the backing include cloth, paper, and polyester. The abrasive grains can be made from several materials, such as aluminum oxide, silicon carbide, zirconia alumina, and ceramic.
Factors Affecting Sandpaper Belt Lifespan
Several factors influence the lifespan of sandpaper belts. Understanding these factors can help you determine when it’s time to replace them:
- Abrasive Material: The type of abrasive material used in the belt significantly impacts its lifespan. For example, ceramic belts tend to last longer than aluminum oxide belts.
- Grit Size: Coarser grits (lower numbers) remove material faster but wear out more quickly. Finer grits (higher numbers) provide smoother finishes but may last longer under the same conditions.
- Workpiece Material:Harder materials like metal will wear down sandpaper belts faster than softer materials like wood. Additionally, materials with high resin content can clog the abrasive surface, reducing its effectiveness.
- Sanding Pressure: Excessive pressure can cause the abrasive grains to break down faster, reducing the belt’s lifespan. Using the correct pressure ensures optimal performance and longevity.
- Speed and Heat:High-speed sanding generates more heat, which can degrade the adhesive bonding the abrasive grains to the backing. Overheating can also cause the backing material to deteriorate.
- Storage Conditions: Proper storage of sandpaper belts is essential. Exposure to moisture, extreme temperatures, or direct sunlight can weaken the adhesive and backing material, leading to premature wear.
Signs That It’s Time to Change Your Sandpaper Belt
Recognizing the signs that indicate your sandpaper belt needs replacement is key to maintaining efficient and high-quality work. Here are some common indicators:
- Reduced Cutting Efficiency: If you notice that your sandpaper belt is no longer cutting as effectively as it used to, it may be time for a replacement. This can manifest as increased time and effort required to achieve the desired results.
- Visible Wear and Tear: Inspect your sandpaper belt regularly for visible signs of wear, such as frayed edges, torn backing, or missing abrasive grains. Any physical damage is a clear indication that the belt should be replaced.
- Burn Marks: Burn marks on the workpiece can result from excessive heat generated by a worn-out belt. If you observe scorch marks, it’s a sign that the belt is no longer performing optimally.
- Clogging and Loading: Clogging occurs when the abrasive surface becomes filled with material debris, reducing its effectiveness. While some belts can be cleaned, excessive clogging is a sign that a replacement is needed.
- Unusual Noises or Vibrations:If your belt sander starts making unusual noises or vibrations, it could be due to an uneven or damaged belt. Replacing the belt can restore smooth operation.
- Consistent Finish Degradation:If the finish quality of your workpiece consistently degrades despite using the same technique, it might be due to a worn-out sandpaper belt.
Best Practices for Maximizing Sandpaper Belt Lifespan
While sandpaper belts will inevitably wear out, following some best practices can help extend their lifespan and ensure optimal performance:
- Select the Right Belt: Choose the appropriate grit and abrasive material for your specific application. Using the wrong type of belt can lead to faster wear and reduced efficiency.
- Properly Align the Belt: Ensure the belt is correctly aligned and tensioned on the sander. Misalignment can cause uneven wear and reduce the belt’s effectiveness.
- Optimal Sanding Pressure: Avoid applying excessive pressure while sanding. Let the abrasive grains do the work. Too much pressure can cause premature wear and generate excessive heat.
- Regular Cleaning: Periodically clean the sandpaper belt to remove debris and prevent clogging. You can use a belt cleaning stick or an abrasive belt cleaner to extend the belt’s life.
- Correct Speed Settings: Use the appropriate speed settings for your material and belt type. High speeds can generate more heat and cause faster wear.
- Proper Storage: Store sandpaper belts in a cool, dry place away from direct sunlight and moisture. Proper storage conditions help maintain the integrity of the adhesive and backing material.
How to Change a Sandpaper Belt
Changing a sandpaper belt is a straightforward process, but it varies slightly depending on the type of belt sander you are using. Here’s a general guide:
- Turn Off and Unplug the Sander: Always ensure the sander is turned off and unplugged before changing the belt to prevent accidental starts.
- Release the Tension: Most belt sanders have a tension release lever or knob. Release the tension to loosen the belt.
- Remove the Old Belt: Slide the old belt off the sander’s rollers. Inspect the rollers for any debris or damage.
- Install the New Belt: Slide the new belt onto the rollers, ensuring it is properly aligned. The arrows on the belt should match the direction of rotation of the sander.
- Re-Tension the Belt: Engage the tension mechanism to tighten the belt. Ensure it is secure and properly aligned.
- Test the Sander:Plug the sander back in and turn it on. Run it briefly to ensure the belt is properly installed and functioning smoothly.
Conclusion
Knowing when to change your sandpaper belts is essential for maintaining the quality and efficiency of your work. By understanding the factors that affect belt lifespan and recognizing the signs of wear, you can make informed decisions about when to replace them. Additionally, following best practices for belt selection, usage, and maintenance can help extend their lifespan and ensure optimal performance. Regularly inspecting your sandpaper belts and replacing them as needed will lead to better results, reduced downtime, and a more productive workflow.