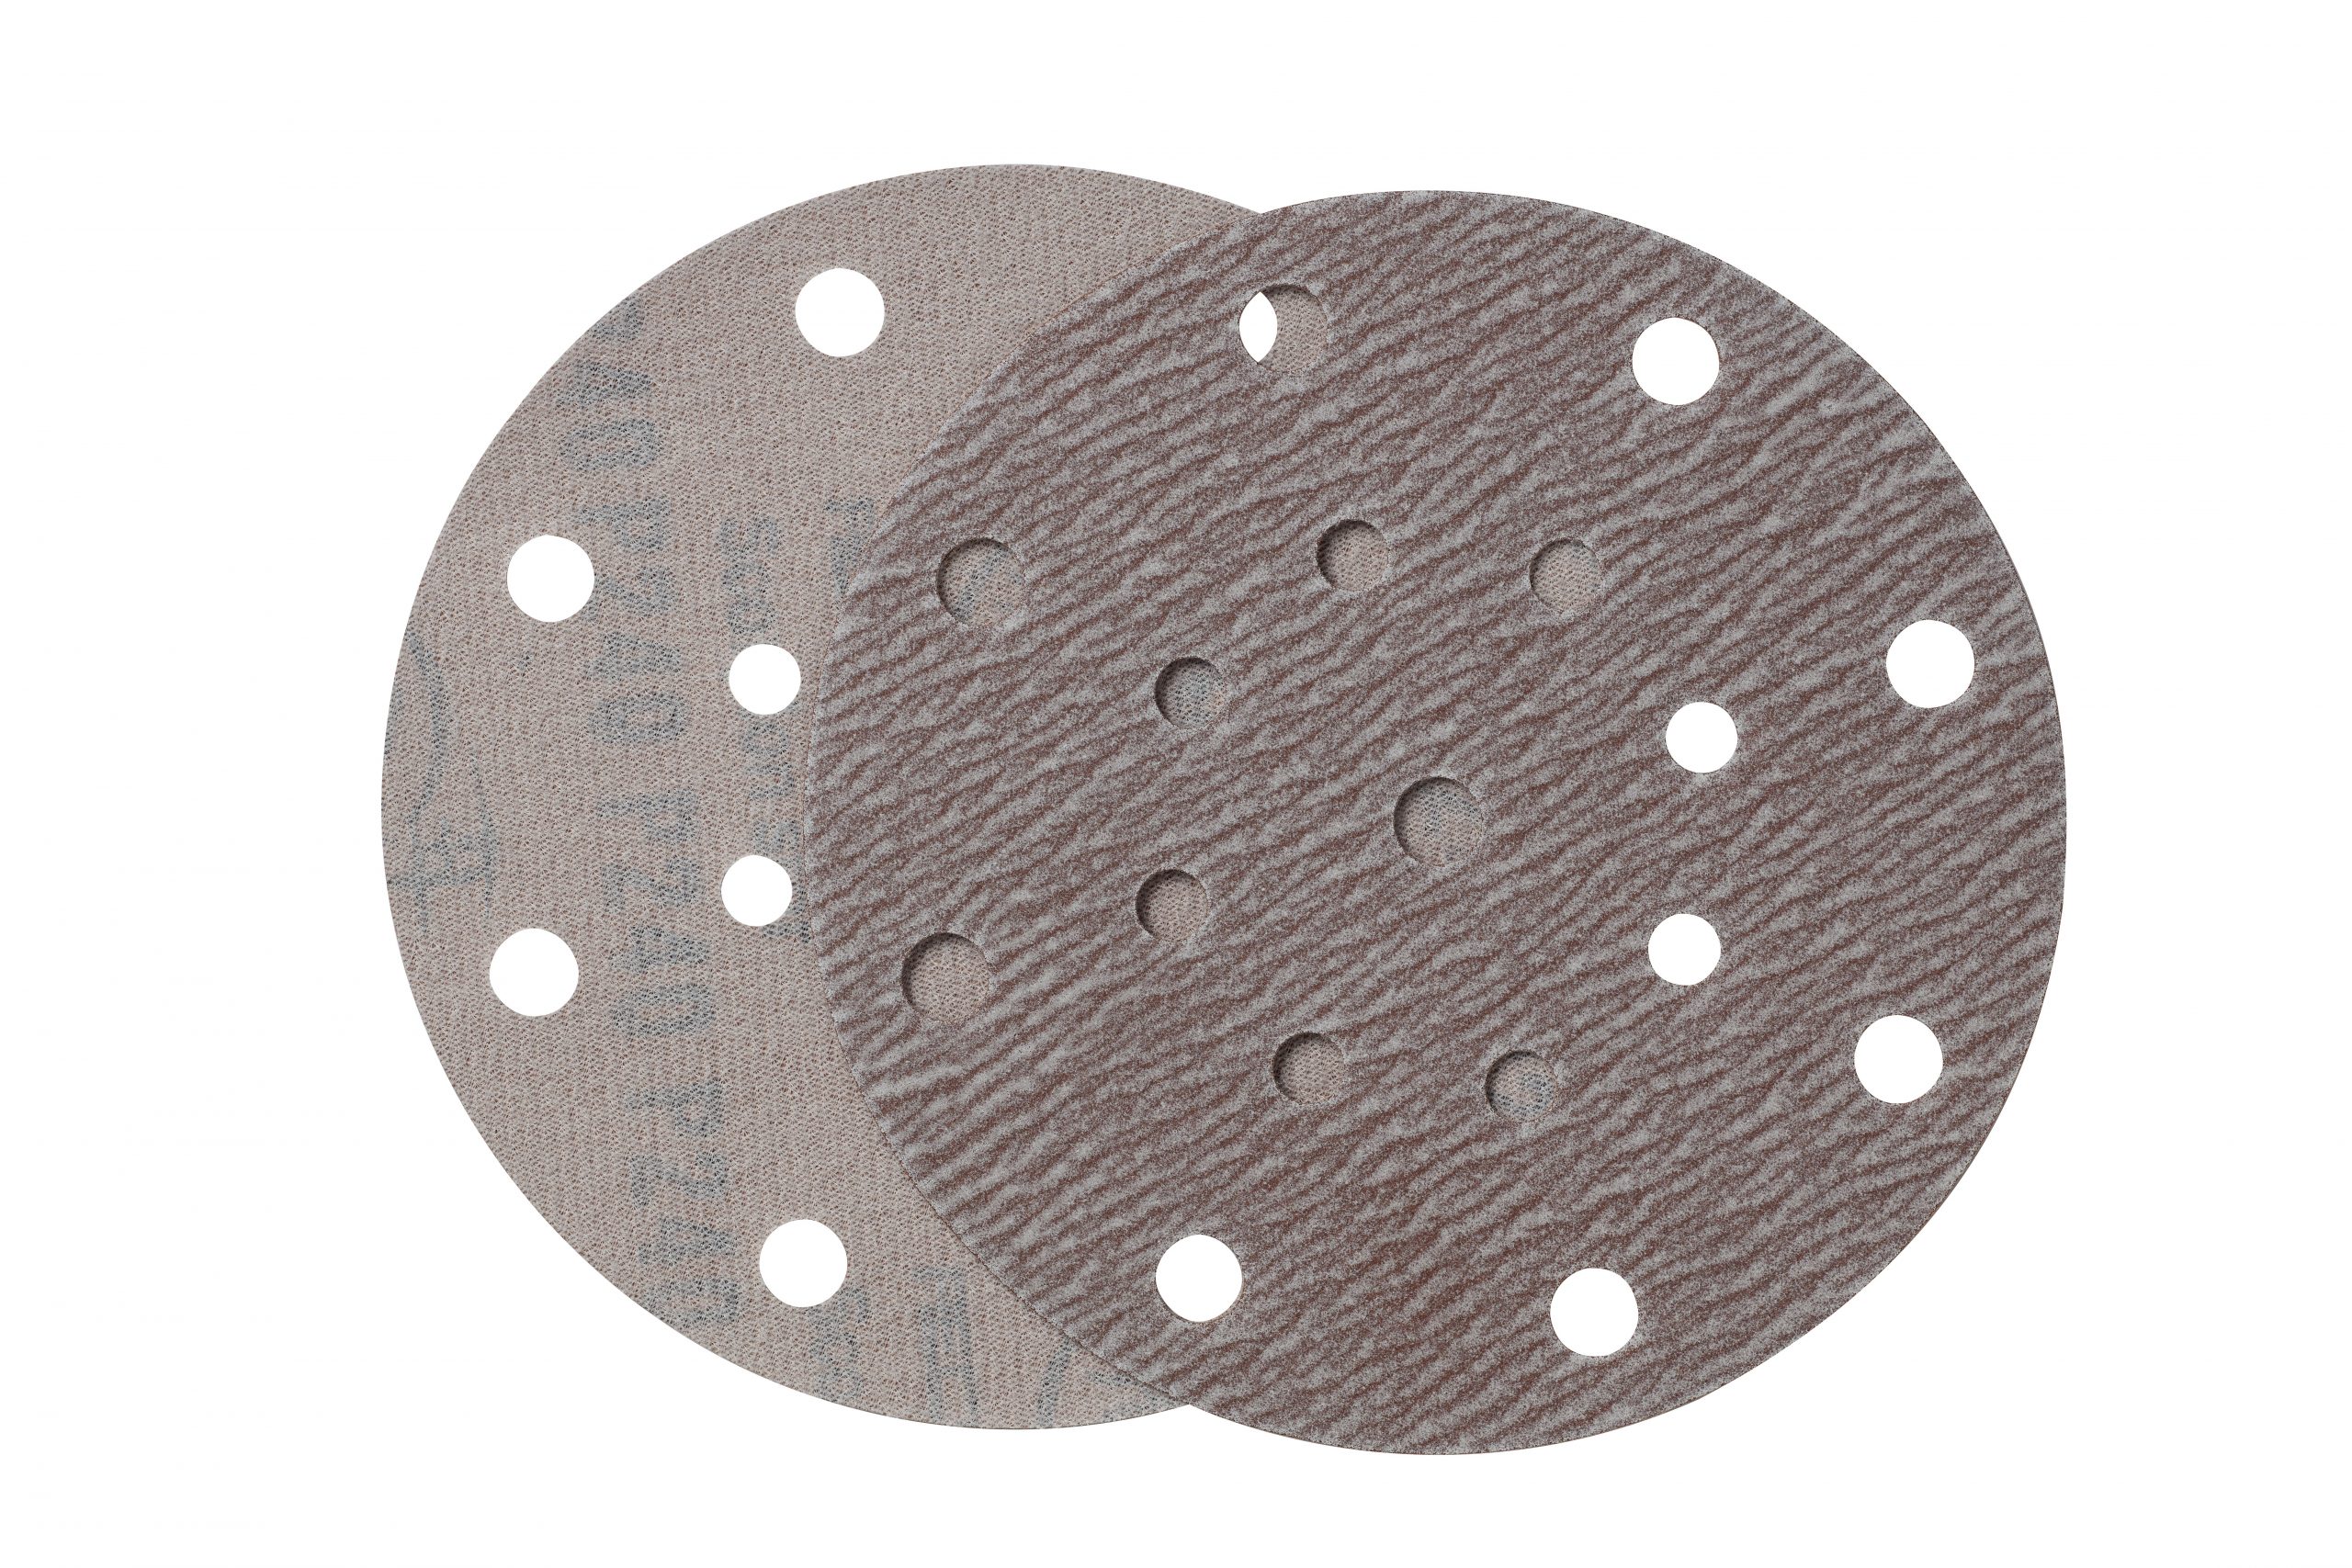
How to sand a smooth surface In order to efficiently sand the surface of the board, it is necessary to combine machine and manual techniques, and sand sequentially from low mesh to high mesh, so that a smooth surface can be obtained. Begin sanding with power tools and remove machine scratches: Start at 150 grit and finish at 180 grit with a 5-6 inch diameter disc sander. Padded work gloves are worn when using the sander to reduce vibrations when the machine is in operation. Finish with manual sanding: After sanding to 180 grit with a machine, wrap a cork sanding block with 220 grit sandpaper and continue to sand it by hand. When sanding, if you don’t sand along the grain direction, the carpenter may scold you, but sanding at an angle of 7°to 10°to the grain direction will remove the wood fibers better and will not leave obvious on the wood surface. of horizontal scratches. Manual sanding disc: If you feel tired by holding the sand block for a long time, you can use the strap-type hand velcro disc, which will be much easier to operate. Finishing of sanding the end face: Usually, the smooth surface can be finished by sanding to 220 grit, but the horizontal grain surface still needs to be sanded until about 400 grit, which can achieve a smooth surface effect like glass.

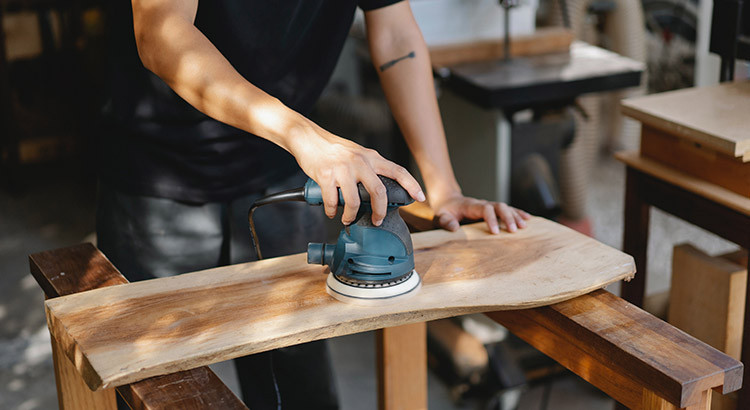
How to deal with the assembled large board to obtain a flat surface, many people have encountered this big problem. The assembled large board is often too wide to pass the planing, and the hand planing skills cannot meet the requirements. The 5-inch disc sander at hand is too small and the sanding is uneven. The solution is to use a belt sander. Use clips to clamp two 11⁄2-inch wooden strips at both ends and in the middle of the board. Tighten the clips evenly, and press the clips to flatten the board as much as possible. Scrape off excess glue with a flake, but sealing tape will work just as well. Then evenly tighten the steel rod clamps, and use a rubber mallet to hit the boards around the seam, trying to make the panels flush with each other. First up and down, then left and right: First, clamp the wooden strips up and down on the front, back and middle of the board, tighten the clamps clamped up and down, apply pressure to the wooden strips, and clamp the board flat by the constraints of the wooden strips. Then evenly tighten the clamps in the left and right directions of the board to make the board glued more tightly. Despite these precautions, under normal circumstances, there will still be some unevenness between the panels, which requires the use of some heavy equipment. Among them, the first choice is a 4*24-inch large belt sander, followed by a 6-inch diameter disc sander, whether it is a cylindrical grip or a gun grip, although the efficiency is lower, but the effect is not good Poor, but the premise is that your tool quality must pass the test.
sanding in different directions to achieve a flat cut: methods include cross-line sanding, along-grain sanding, and checking progress. Cross-line sanding method: The best way to smooth the glued parts between the panels is to make a 45° angle between the sander and the direction of the wood grain, and then evenly sand from left to right. Then continue sanding at a 45° angle from right to left. Sanding along the texture: After the glued parts of the board are smoothed, sand the entire board along the texture of the board. Check progress: Use a spirit level longer than the width of the panel to check whether the table top is raised. When the spirit level shows that each part of the table is level, you can start the next step of sanding.
How to sand narrow parts? Small step splicing angle: a special sanding block that can be sanded to the steps without causing lateral wear of the wood, paste PSA sandpaper on the wood block or use spray glue to paste ordinary sandpaper on the wood block for sanding . Narrow parts tip the balance: When sanding narrow surfaces, the sander can easily tip over to one side, causing the edges of the wood to sand off the angles. Sanding several narrow parts together not only provides a more stable surface, it also speeds up the sanding progress.
Finally check the sanding effect. Side lights will make uneven spots on the board surface appear. Run a low-angle light source from side to side of the panel to see if the board is flat. Wet the wood surface. Apply denatured alcohol, rosin or water evenly on the surface of the panel, so that you can see the sanding marks left on the panel or the marks left by the flat pressing planer.