
When it comes to working with metal, achieving a smooth surface is crucial for various projects, whether it’s restoring a vintage car, refinishing furniture, or crafting intricate metal art. Sanding metal is a fundamental step in the process, as it helps remove imperfections, rust, and old finishes, providing a clean canvas for further treatment. In this article, we will explore the essential techniques, tools, and safety precautions required to sand metal effectively and achieve flawless results.
Understanding Metal Types and Surface Preparation:
Before diving into the sanding process, it’s important to identify the type of metal you are working with. Different metals require different approaches due to variations in hardness and composition. Aluminum, for example, is a soft metal that is easily scratched, while steel is tougher and may require more aggressive sanding techniques. Also, assess the condition of the metal surface and remove any loose dirt, grease, or previous coatings before sanding to ensure proper adhesion of the new finish.
Selecting the Right Sanding Tools and Abrasives:
Choosing the appropriate sanding tools and abrasives is crucial for achieving the desired results. Here are some commonly used tools and abrasives for sanding metal:
- Sandpaper: Available in various grit sizes, sandpaper is the most versatile option. Coarse gritsandpaper (40-80) is suitable for heavy material removal, while medium grit sandpaper (120-220) is used for intermediate sanding. Fine grit sandpaper (320-400) provides a smooth finish, and extra-fine grit sandpaper (600-1200) is ideal for final polishing.
- Sanding Sponges: These flexible blocks with abrasive surfaces are handy for intricate or curved surfaces. They come in different grits and can be easily shaped or trimmed for better access to tight areas.
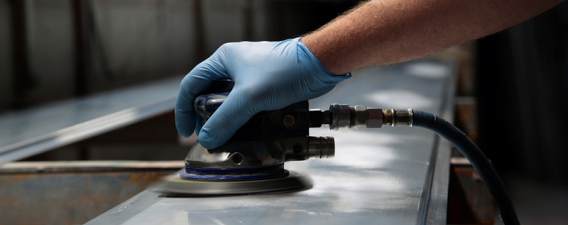
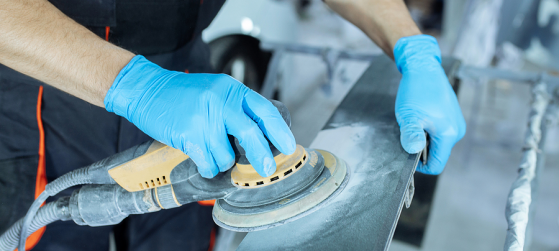
- Sanding Discsor Sanding Belts: These are typically used with power sanders, such as orbital sanders or belt sanders. They offer faster material removal and are available in various grits and sizes.
- Wire Brushes: Wire brushes are used for aggressive cleaning and rust removal. They come in different types, such as steel, brass, or nylon, depending on the metal and the required level of abrasiveness.
Safety Precautions:
When sanding metal, it’s important to prioritize safety. Here are some essential precautions to keep in mind:
- Wear Protective Gear: Always wear safety goggles, a dust mask, and gloves to protect your eyes, respiratory system, and hands from metal dust, debris, and potential hazards.
- Work in a Well-Ventilated Area:Sanding metal produces fine particles and dust, which can be harmful if inhaled. Ensure you work in a well-ventilated space or wear a respirator to minimize exposure.
- Secure the Workpiece: If you are using power sanders, ensure the workpiece is securely clamped or held in place to prevent accidents or injuries.
- Minimize Fire Hazards: Some metals, like aluminum, produce fine particles that are highly flammable. Keep a fire extinguisher nearby and avoid working near open flames or sparks.
Step-by-Step Guide to Sanding Metal:
Step 1: Start with Coarse Grit Sandpaper
If the metal surface has imperfections or old finishes, begin with coarse grit sandpaper or an appropriate abrasive. Work in a consistent, even manner, following the grain or direction of the metal.
Step 2: Progress to Finer Grit Sandpaper
As you remove imperfections and achieve a smoother surface, gradually move to finer grits. Remember to clean the surface between each grit change to remove debris and ensure a clean sanding process.
Step 3: Use Circular Motions
For even sanding and to avoid leaving visible scratch marks, use circular or figure-eight motions, applying even pressure across the surface. This technique helps distribute the sanding evenly and minimizes the risk of over-sanding in one area.
Step 4: Pay Attention to Edges and Corners
Utilize sanding sponges or small pieces of sandpaper to reach corners, edges, and intricate details. Be careful not to damage surrounding areas or create uneven surfaces.
Step 5: Final Polishing
Once you have achieved the desired smoothness, use extra-fine grit sandpaper or polishing compounds to give the metal surface a final polish. This step enhances the shine and prepares the metal for further treatment or coating.
Conclusion:
Sanding metal is a vital skill for achieving flawless finishes and preparing surfaces for further treatments or coatings. By understanding the metal type, using the right tools and abrasives, and following proper safety precautions, you can ensure a successful sanding process. Remember to work patiently, progress from coarse to finer grits, and pay attention to detail. With practice and attention to technique, you’ll be able to transform rough metal surfaces into beautifully smooth ones, ready for the next stage of your project.