
Stripping automotive paint back to bare metal is an essential step in car restoration projects or when repainting a vehicle. While there are several methods available, using sandpaper is a popular and effective choice. In this article, we will provide you with a comprehensive step-by-step guide on how to strip automotive paint back to bare metal. By following these instructions, you can achieve a clean and smooth surface that is ready for a fresh coat of paint.
How to Strip Automotive Paint Back to Bare Metal
Step 1: Gather the Necessary Tools and Materials
Before you begin the paint stripping process, ensure you have the following tools and materials:
- Safety equipment:Wear safety goggles, a dust mask or respirator, and gloves to protect yourself from paint dust and debris.
- Sandpaper:Start with coarse-grit sandpaper (around 80-120 grit) to remove the majority of the paint. You’ll also need finer-grit sandpaper (around 180-220 grit) for the final smoothing process.
- Sanding block or electric sander: Using a sanding block or an electric sander can make the process more efficient and ensure even sanding.
- Paint stripper (optional): If the paint is difficult to remove, you may need a chemical paint stripper. Follow the manufacturer’s instructions and take proper safety precautions when using these products.
- Cleaning supplies:Have a bucket of soapy water, clean rags, and a wax and grease remover to clean the surface after sanding.
Step 2: Prepare the Work Area
Choose a well-ventilated area for the paint stripping process. If possible, work outdoors or in a well-ventilated garage. Cover the surrounding surfaces and the ground with drop cloths or plastic sheets to protect them from dust and paint debris. Ensure there is adequate lighting to clearly see the painted surface and identify any imperfections.
Step 3: Remove Obstacles and Trim
Before sanding, remove any trim, moldings, or accessories that may obstruct the sanding process. This includes door handles, emblems, and rubber seals. Take care when removing these items to avoid damage. If necessary, consult the vehicle’s manual or search online for specific instructions on removing trim pieces.
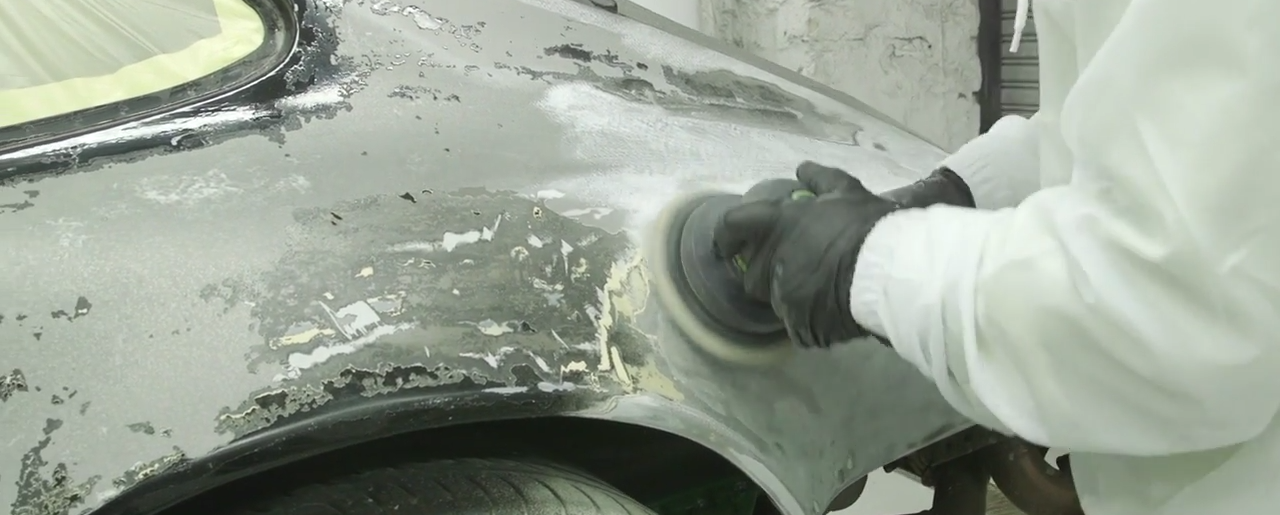
Step 4: Begin Sanding
Start sanding the painted surface with coarse-grit sandpaper (80-120 grit) using a sanding block or electric sander. Use long, even strokes and apply moderate pressure. Keep the sandpaper flat against the surface to ensure uniform removal of the paint. Work in small sections, overlapping each stroke to prevent uneven spots.
Continue sanding until you reach the bare metal. The goal is to remove the paint completely, exposing the bare metal underneath. Take your time and be patient during this step, as rushing can lead to uneven stripping or damage to the underlying metal.
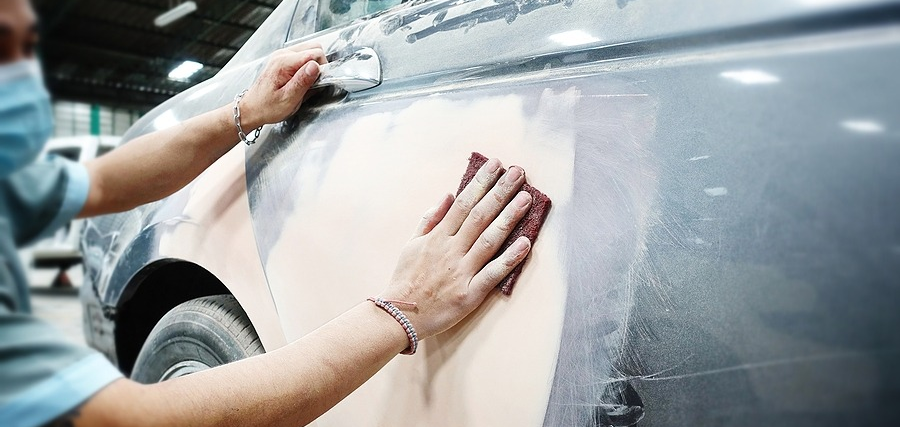
Step 5: Fine Sanding
Once you have removed the majority of the paint, switch to finer-grit sandpaper (180-220 grit) to smooth out any remaining paint and scratches. Sand in the same direction as the vehicle’s body lines for a consistent finish. This step will also help prepare the surface for a new coat of paint.
Pay close attention to any corners, crevices, or tight areas that may require hand sanding. This ensures that all the paint is removed and the surface is uniform.
Step 6: Cleaning and Inspection
After sanding, clean the surface thoroughly to remove dust, paint debris, and any residual chemicals from the paint stripper (if used). Start by rinsing the area with clean water to remove loose particles. Then, wash the surface with soapy water using a sponge or soft cloth. Rinse again and wipe dry.
Inspect the sanded surface for any remaining paint or imperfections. If necessary, repeat the sanding process in those areas until you achieve a clean, smooth bare metal surface.
Conclusion
Stripping automotive paint back to bare metal using sandpaper is a labor-intensive but rewarding process. By following this step-by-step guide, you can successfully remove the old paint and prepare your vehicle for a fresh coat of paint. Remember to prioritize safety by wearing appropriate protective gear and working in a well-ventilated area. Take your time during the sanding process to ensure a smooth and even finish. With patience and attention to detail, you can achieve a professional-looking result that will enhance the overall appearance of your vehicle.