
Wood, a timeless and versatile material, has been an integral part of human civilization for centuries. From the grandeur of ancient palaces to the minimalistic elegance of modern furniture, wood’s beauty and adaptability remain unparalleled. However, the journey from rough lumber to a polished masterpiece requires a crucial step: bare wood sanding. This seemingly simple process is an art and science in itself, essential for achieving a flawless finish that showcases wood’s natural allure. In this article, we delve into the world of bare wood sanding, exploring its significance, techniques, and tools that contribute to the transformation of raw wood into stunning creations.
Understanding the Significance
Bare wood sanding is more than just the act of smoothing the surface. It is the bridge between raw material and a refined work of art. The primary goal of sanding is to create a smooth and consistent surface that enhances the wood’s natural beauty, while also preparing it for subsequent treatments, such as staining, sealing, or painting. The process removes imperfections, including rough spots, uneven grain, and irregularities, thus setting the stage for a perfect finish.
The Science Behind Sanding
At its core, sanding involves the abrasion of the wood’s surface using abrasives such as sandpaper. The science lies in understanding the interaction between the abrasive material, the wood’s grain, and the sanding technique employed. The grit of the sandpaper determines the coarseness of the abrasion. Coarser grits (lower numbers) are used to remove material quickly, while finer grits (higher numbers) are employed for achieving a smoother finish.
Wood’s grain direction significantly impacts sanding results. Sanding against the grain can cause tear-out, creating unsightly patterns on the surface. Sanding with the grain produces a smoother finish by minimizing tear-out. The choice of sanding technique and direction depends on the type of wood, its grain pattern, and the desired outcome.
Mastering the Techniques
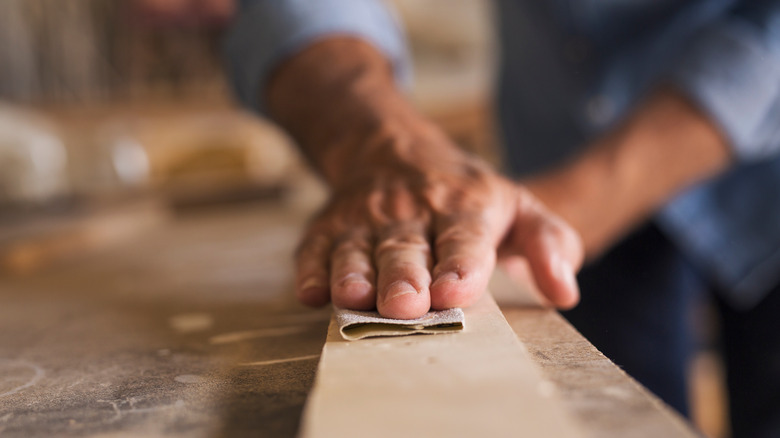
- Initial Sanding:Begin with a coarser grit sandpaper to remove any surface imperfections and irregularities. This sets the foundation for subsequent sanding steps. Sand parallel to the wood grain, maintaining an even pressure to avoid uneven surfaces.
- Progressive Grits: As you move to finer grits, the focus shifts from material removal to achieving a smoother surface. Each successive grit removes the scratches left by the previous one, gradually refining the surface. This step is crucial for achieving a polished finish.
- Final Touches: For an immaculate finish, employ ultra-fine grits. At this stage, the surface should feel silky smooth to the touch. These final touches prepare the wood for finishing treatments, allowing them to penetrate evenly and create a uniform appearance.
- Between Coats:Bare wood sanding is not limited to the initial preparation. Between coats of finish, a light sanding with a fine grit can remove any dust particles or imperfections that may have settled on the surface, ensuring a seamless finish.

Essential Tools
- Sandpaper:The heart of any sanding endeavor, sandpaper comes in various grits and types, such as aluminum oxide sandpaper or silicon carbide sandpaper. A range of grits is essential to progress from coarse to fine abrasion.
- Sanding Blocks: These provide a stable surface for sandpaper, ensuring even pressure and consistent results. They come in various shapes and sizes to adapt to different surfaces.
- Random Orbital Sander:This power tool combines rotary and orbital motions, preventing swirl marks while providing efficient material removal. It’s ideal for larger surfaces.
- Detail Sander: With its triangular shape, this tool reaches tight corners and small areas that larger sanders can’t access effectively.
- Sanding Sponge:This versatile tool is useful for hand sanding irregular shapes and contours. Its flexibility ensures uniform pressure on curved surfaces.
Tips for Success
- Keep it Even: Apply consistent pressure while sanding to avoid uneven surfaces. Irregular pressure can create divots or uneven patches.
- Don’t Rush: Sanding is a patient process. Rushing through grits can result in scratches that are difficult to remove in later stages.
- Dust Control: Dust can mar the final finish. Use a vacuum or a tack cloth to keep the surface clean between sanding stages.
- Protect Yourself: Sanding produces fine dust that can be harmful when inhaled. Wear a dust mask and protective eyewear to safeguard your health.
- Test the Surface: Before applying any finish, inspect the sanded surface under different lighting conditions. This helps identify any imperfections that might need further attention.
Conclusion
Bare wood sanding, though often overlooked, is a pivotal stage in woodworking that bridges the gap between raw material and exquisite craftsmanship. The careful application of techniques, coupled with an understanding of the science behind sanding, yields surfaces that radiate with natural beauty. Whether you’re a seasoned woodworker or a DIY enthusiast, mastering the art of bare wood sanding opens the door to a world where the true essence of wood is revealed, one smooth and flawless surface at a time.