
Rust can be a persistent problem on metal surfaces, causing corrosion and compromising the appearance and integrity of your materials. Fortunately, removing rust doesn’t have to be a daunting task, especially when you have the right tools like a ceramic flap disc at your disposal. In this article, we’ll explore step-by-step instructions on how to effectively remove rust from metal using a ceramic flap disc.
Understanding Ceramic Flap Discs
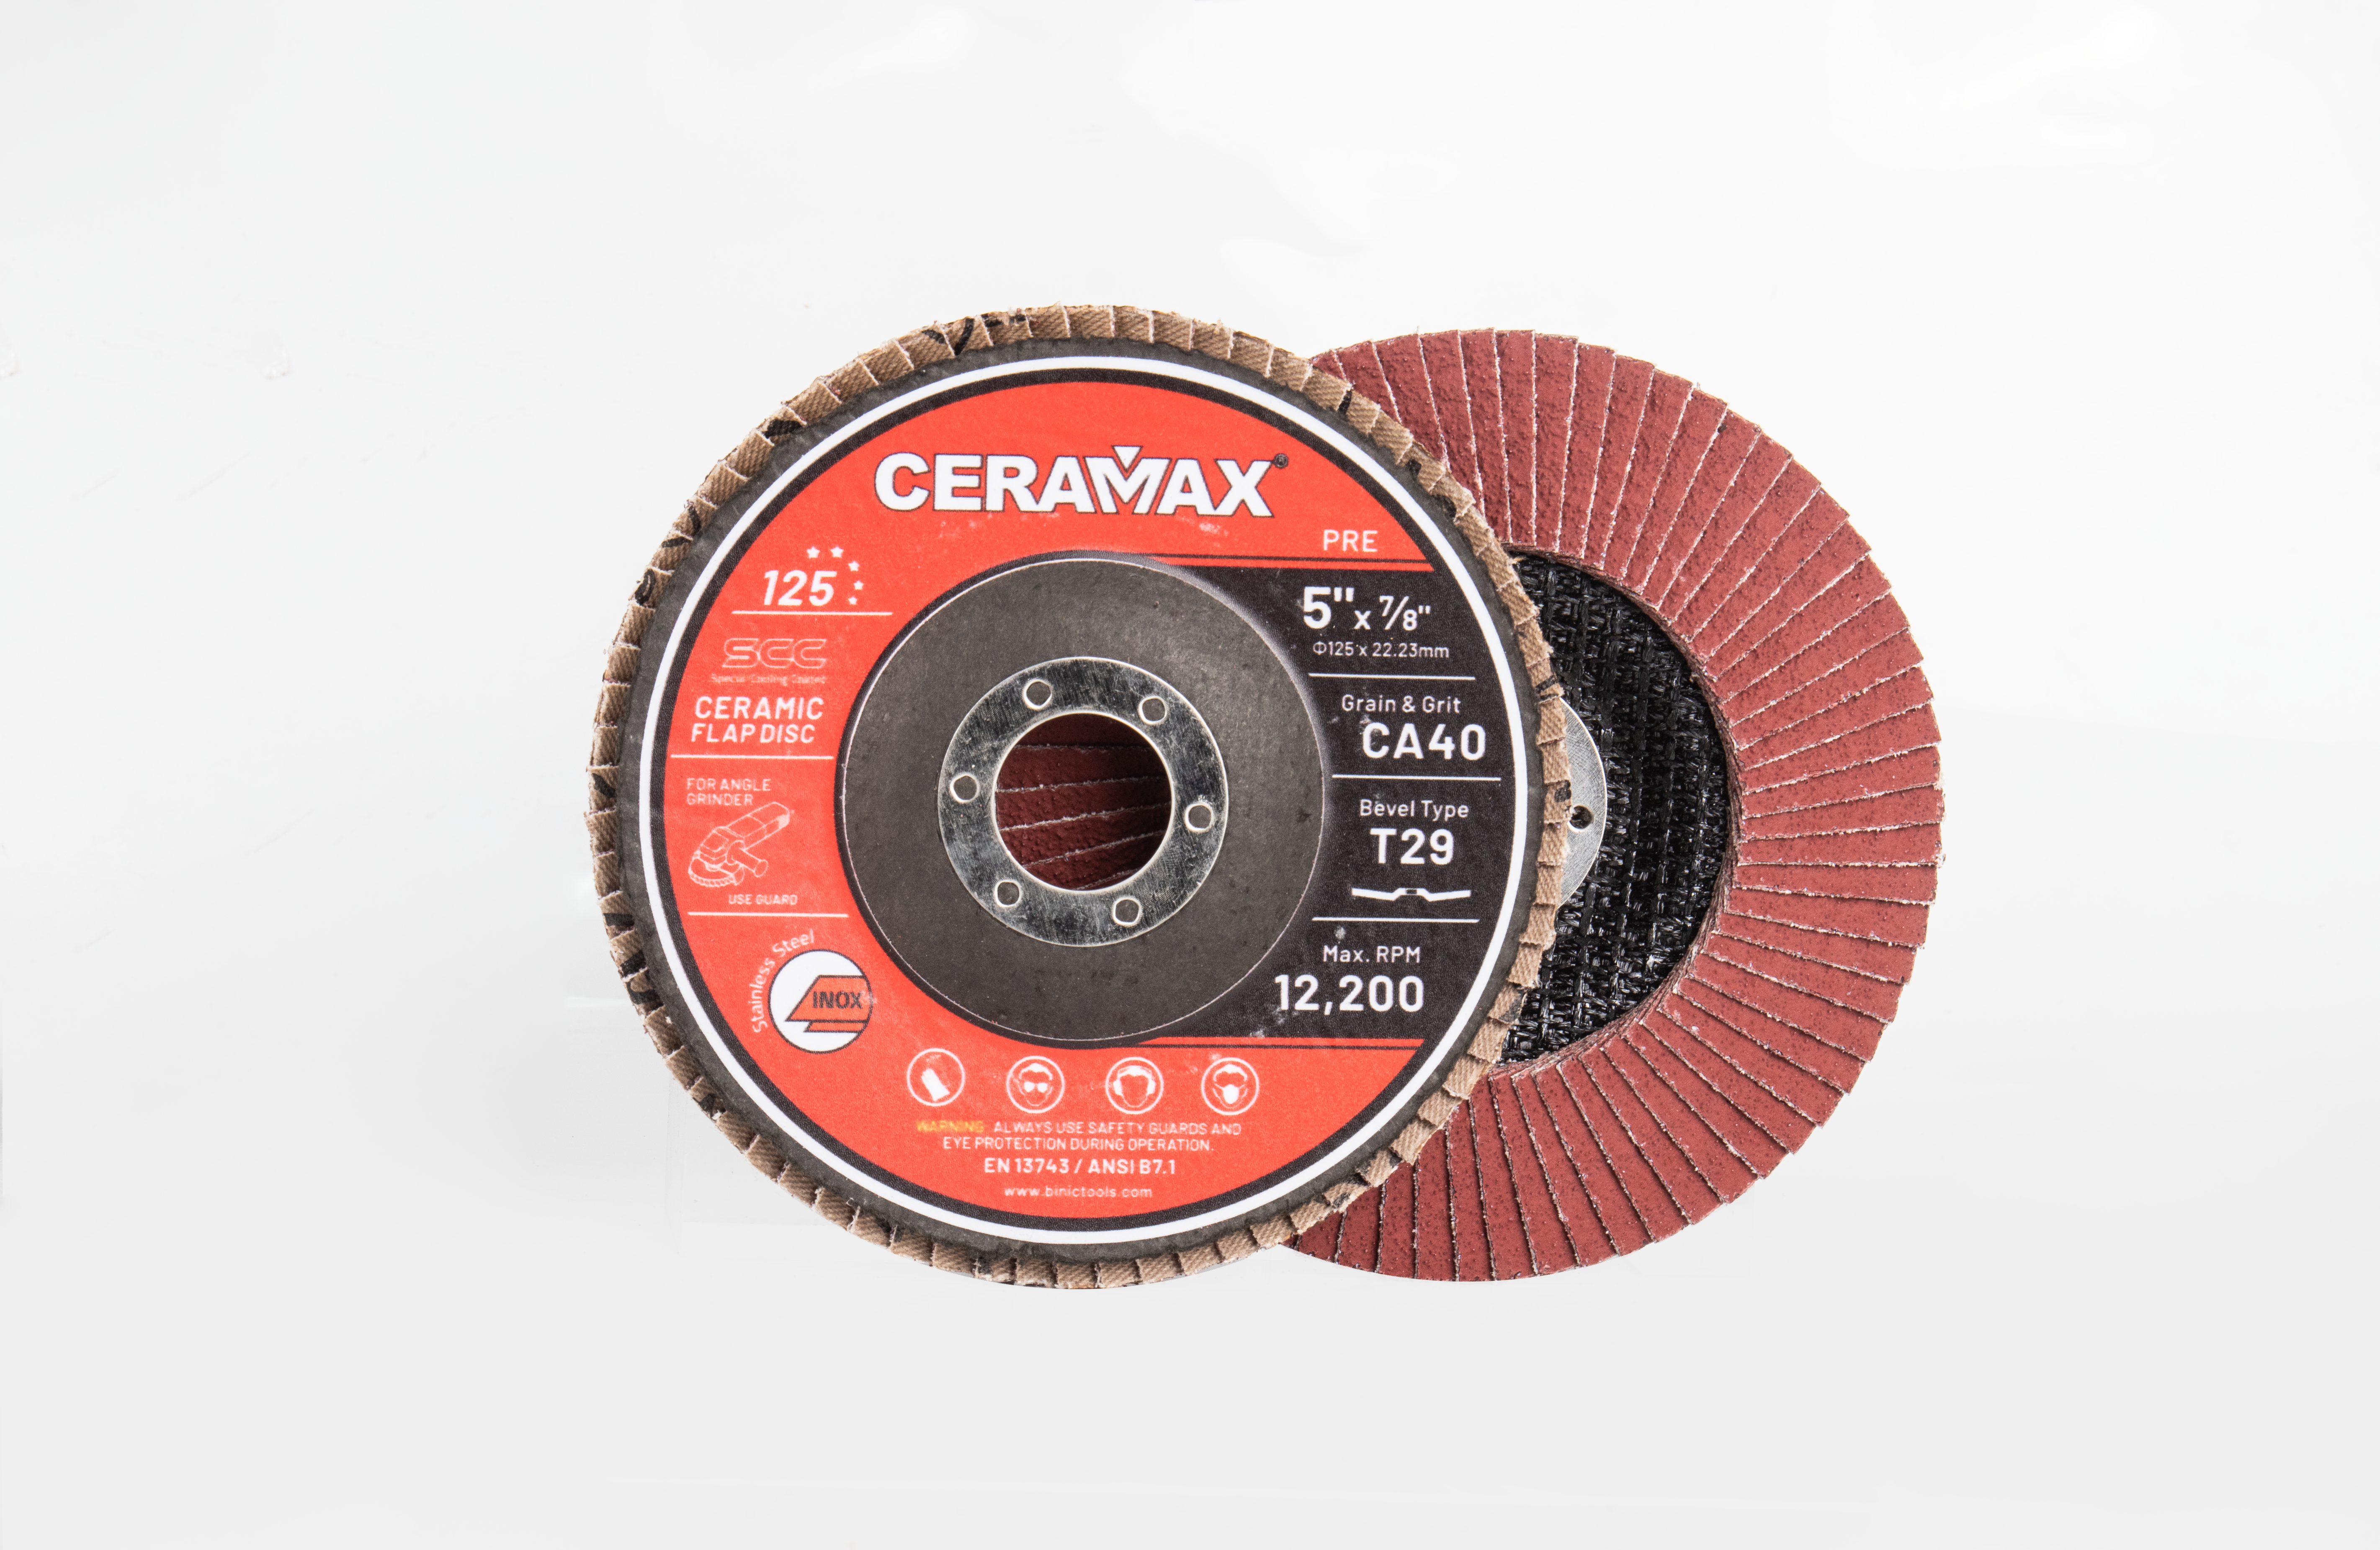
Before diving into the rust removal process, let’s first understand what a ceramic flap disc is and why it’s effective for this task. Ceramic flap discs are abrasive tools used for grinding, blending, and finishing metal surfaces. They consist of overlapping abrasive flaps adhered to a backing plate. The abrasive material, in this case, ceramic alumina, is known for its exceptional durability and aggressive cutting ability.
Ceramic flap discs are preferred for rust removal due to their high-performance characteristics, including:
- Aggressive Cutting:Ceramic abrasives are tough and can efficiently remove rust and surface contaminants.
- Cooler Grinding:They generate less heat during use compared to other abrasives, which helps prevent overheating and damage to the metal.
- Longevity: Ceramic alumina lasts longer than other abrasive materials, making it suitable for demanding applications like rust removal.
Step-by-Step Guide to Removing Rust
Now, let’s move on to the step-by-step process of removing rust using a ceramic flap disc.
Step 1: Preparation
Before you begin, gather the necessary safety equipment:
- Safety goggles or glasses
- Protective gloves
- Dust mask or respirator (if working in a confined area or with heavy rust)
- Ensure the work area is well-ventilated and free of flammable materials.
Step 2: Selecting the Right Ceramic Flap Disc
Choose a ceramic flap disc suitable for rust removal. Opt for a coarse grit (such as 36 or 40 grit) to efficiently grind away the rust without excessive material removal.
Step 3: Securing the Metal
Secure the metal piece firmly in a vise or workbench to prevent movement during the grinding process. This ensures safety and allows for better control over the flap disc.
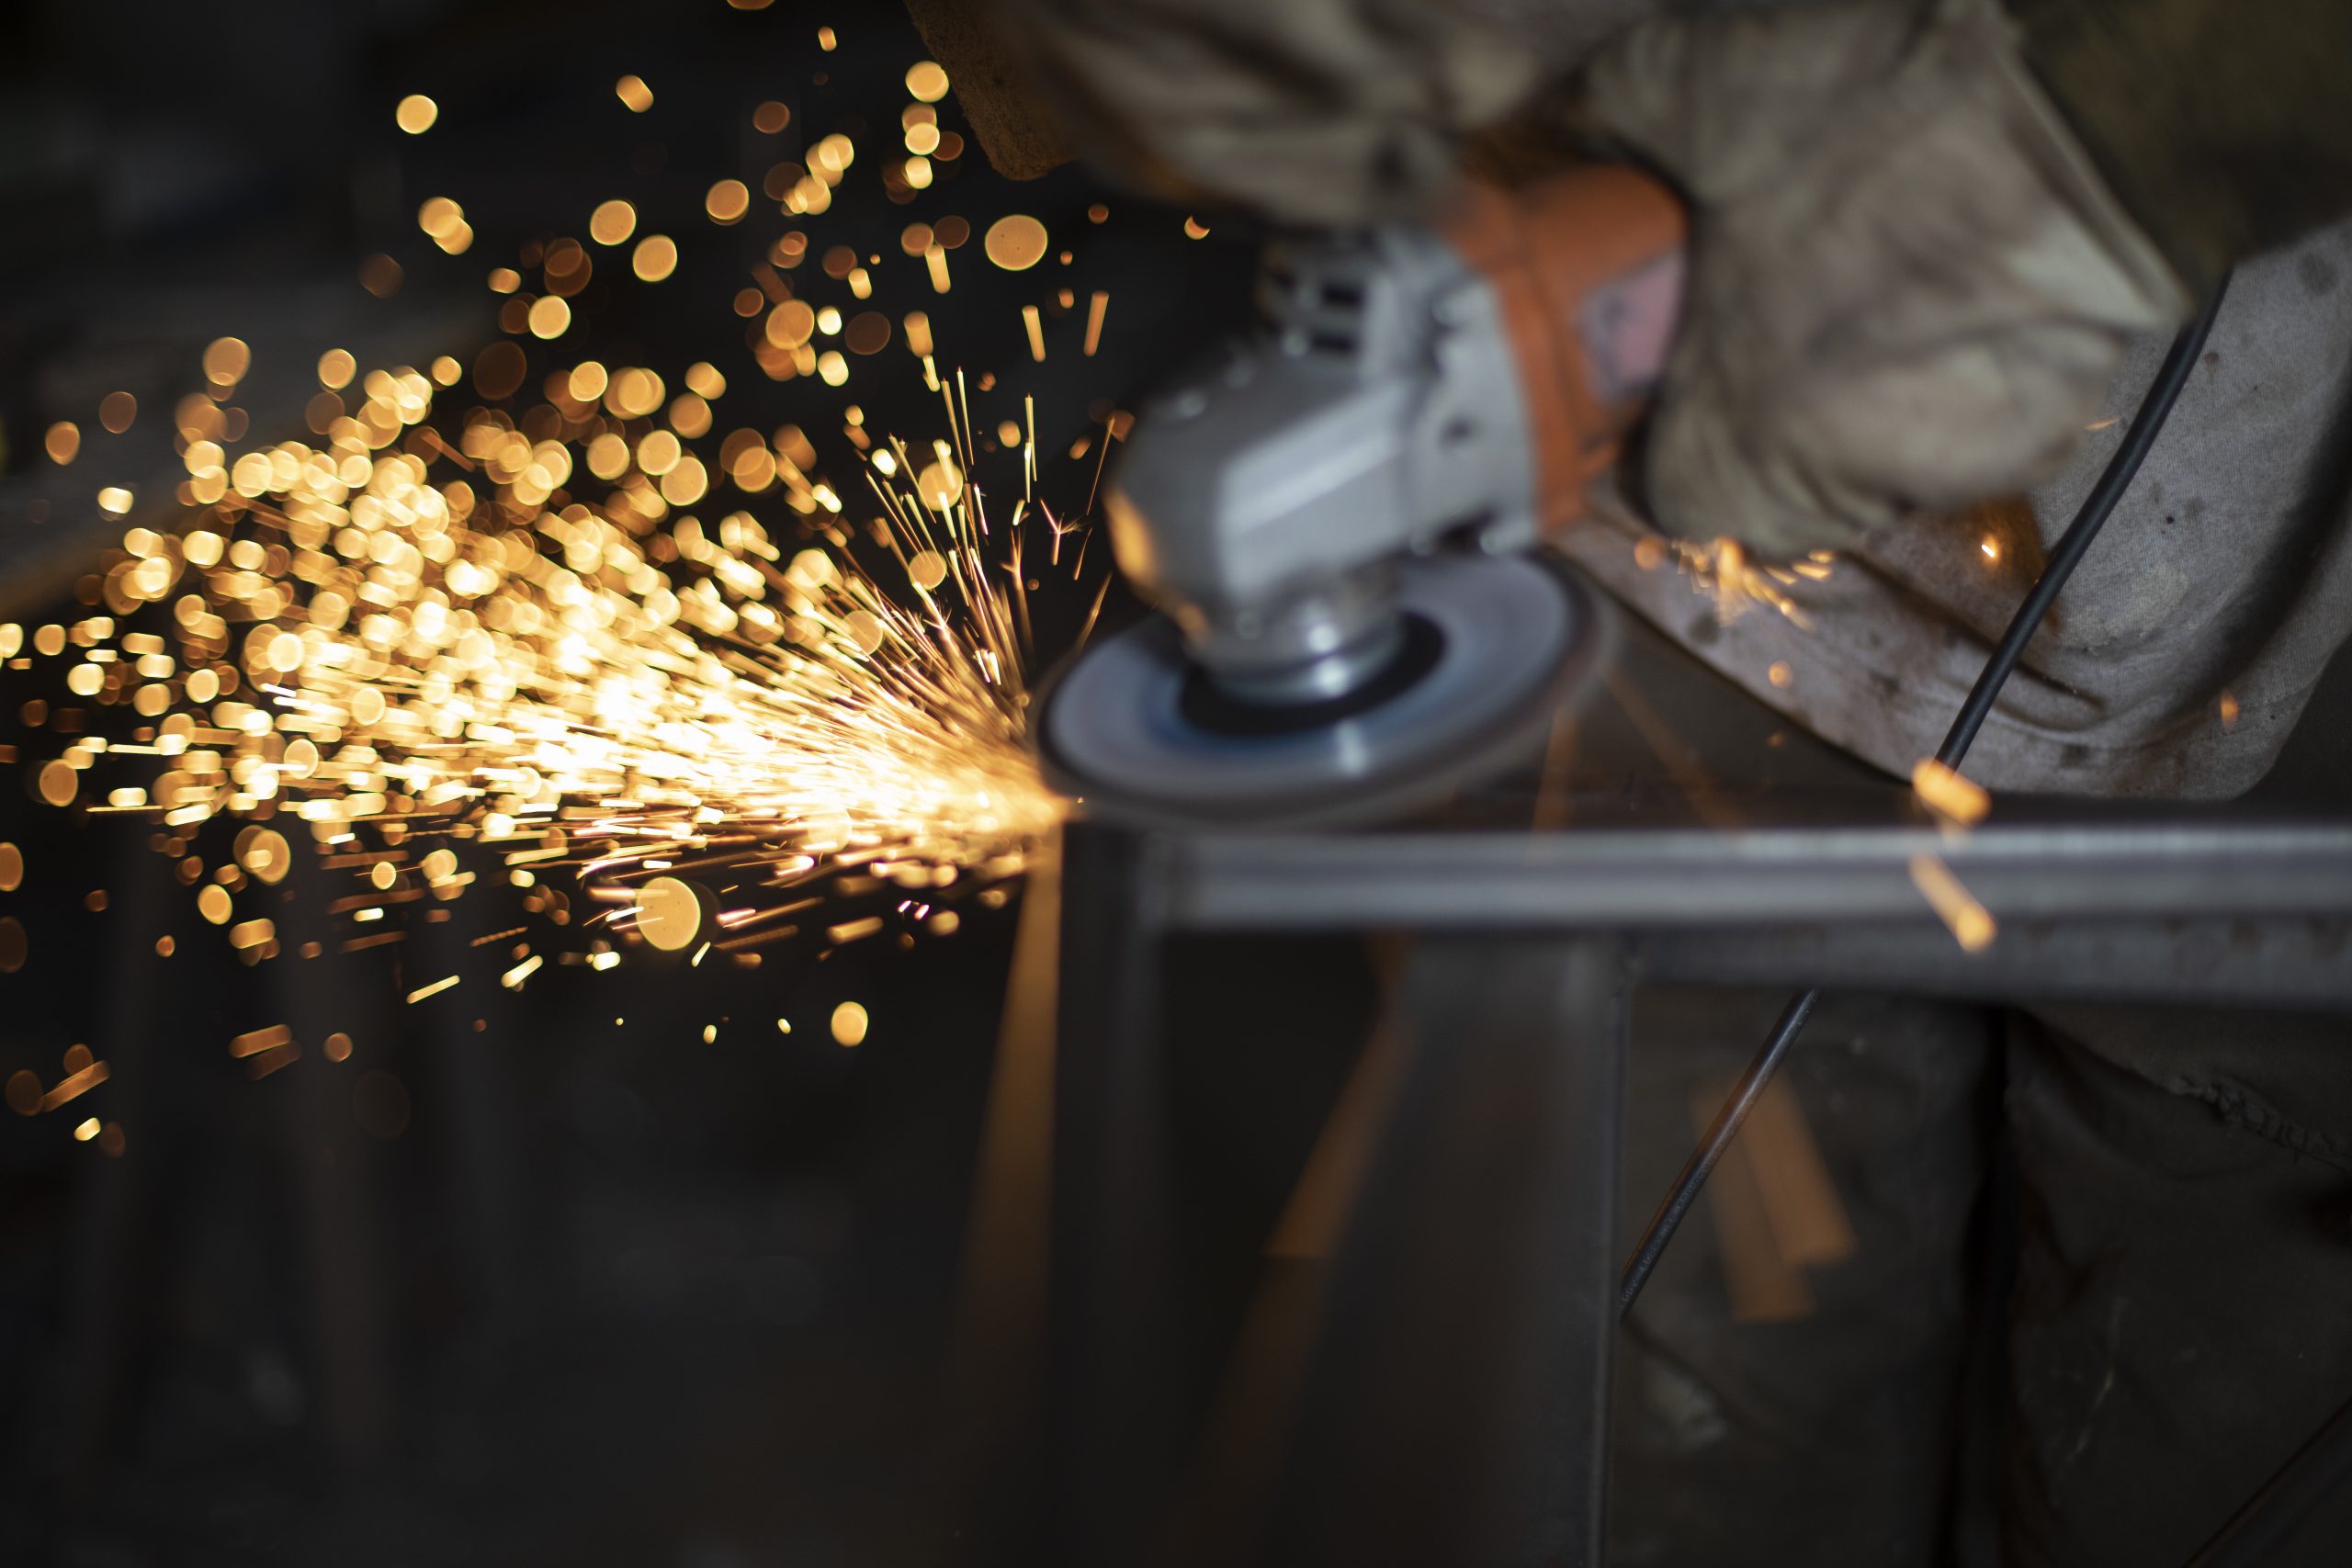
Step 4: Grinding the Rust
Start by positioning the ceramic flap disc at a slight angle (about 10-15 degrees) to the metal surface. Turn on your angle grinder and begin grinding the rusty areas. Use steady, even strokes across the rusted surface.
Apply moderate pressure to allow the ceramic abrasive to effectively remove the rust. Avoid pressing too hard, as this can prematurely wear out the flap disc.
Step 5: Check Progress Regularly
Periodically stop and inspect the metal surface to assess your progress. Continue grinding until the rust is completely removed, revealing clean, bare metal underneath.
Step 6: Finishing Touches
Once the rust is removed, switch to a finer grit ceramic flap disc (e.g., 60 or 80 grit) to smooth out any rough areas and prepare the surface for painting or further finishing.
Step 7: Final Inspection
Inspect the metal surface thoroughly to ensure all rust has been eliminated. Wipe down the metal with a clean cloth to remove any residual dust or debris.
Safety Tips and Precautions
Throughout the rust removal process, safety should remain a top priority.
- Always wear appropriate personal protective equipment (PPE) when using ceramic flap discs, including eye protection, gloves, and a dust mask.
- Avoid excessive pressure on the flap disc to prevent premature wear and overheating.
- Keep the angle grinder moving to prevent gouging the metal surface.
- Work in a well-lit area to clearly see the rusted spots and monitor your progress.
Additional Considerations:
When dealing with specific types of metals or intricate surfaces, here are some additional insights to enhance your rust removal process:
- Metal Compatibility: Ceramic flap discs are versatile, but different metals may require specific techniques. For instance, stainless steel may benefit from lower grit discs initially to avoid heat buildup.
- Post-Treatment Protection:After rust removal, consider applying a protective coating like paint, primer, or rust inhibitor to prevent future corrosion.
- Disc Maintenance: Keep your ceramic flap discs clean by removing debris regularly. This helps maintain their effectiveness and prolongs their lifespan.
- Environmental Impact:Dispose of rust and debris responsibly to minimize environmental impact. Consider recycling metal shavings where possible.
By incorporating these considerations into your rust removal process, you can achieve optimal results and extend the longevity of your metal equipment and surfaces. Experiment with different grits and techniques to tailor your approach to the specific needs of your project. With proper care and attention to detail, ceramic flap discs can become indispensable tools in your metalworking arsenal.
Conclusion
Removing rust from metal using a ceramic flap disc is an efficient and straightforward process when done correctly. By following these steps and safety precautions, you can restore metal surfaces to their original condition, free from corrosion and rust. Remember to choose the right ceramic flap disc for the job and take your time to achieve the desired results. With this method, you can effectively maintain and prolong the lifespan of your metal tools, equipment, and surfaces.