
Are you ready to unleash the power of your angle grinder and conquer the challenge of cutting metal bolts with finesse? Look no further! In this comprehensive guide, we will equip you with the skills and knowledge to expertly wield your angle grinder like a pro. Whether you’re a DIY enthusiast or a seasoned professional, cutting metal bolts with precision and efficiency is a valuable skill to possess. From selecting the right tools and safety gear to mastering cutting techniques, get ready to dive into a world of metalworking mastery and unleash the true potential of your angle grinder!
Tools and Safety Precautions
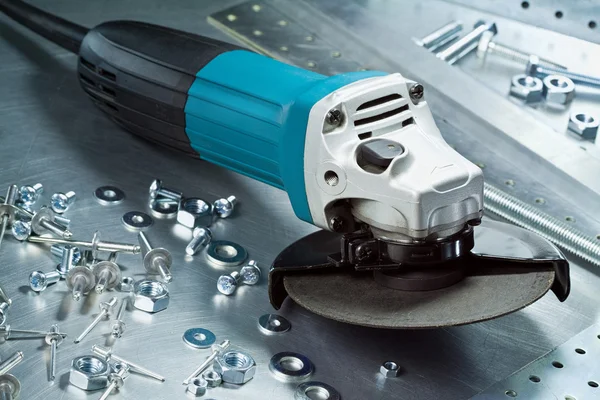
Before diving into the cutting process, it is crucial to gather the necessary tools and take appropriate safety precautions. Here are the items you will need:
- Angle grinder:Select a grinder with a metal cutting disc.
- Safety gear: Wear safety goggles, ear protection, and heavy-duty gloves to protect yourself from sparks and metal debris.
- Clamps or vise: Secure the bolt in place to ensure stability during the cutting process.
- Measuring tape: Measure and mark the desired cutting point on the bolt.
- Marker or chalk: Use to clearly mark the cutting line.
Remember to work in a well-ventilated area and take fire safety precautions. Have a fire extinguisher nearby, and avoid cutting near flammable materials.
Step-by-Step Guide
Step 1: Preparation and Marking
Begin by preparing the work area. Clear any clutter or debris that might interfere with the cutting process. Secure the bolt in place using clamps or a vise, ensuring it is stable and won’t move during cutting.
Next, measure and mark the point where you want to cut the bolt. Use a measuring tape to determine the desired length, and make a clear mark on the bolt using a marker or chalk. Double-check the measurement to ensure accuracy.
Step 2: Safety Gear and Angle Grinder Setup
Put on your safety gear, including goggles, ear protection, and heavy-duty gloves, to shield yourself from sparks and metal fragments. Additionally, wear long sleeves and long pants to protect your skin.
Next, securely attach a cutting disc for metal to your angle grinder. Follow the manufacturer’s instructions for proper disc installation. Ensure the grinder is unplugged from the power source while changing the disc. Once the disc is installed, double-check its tightness to prevent accidents.
Step 3: Positioning and Starting the Cut
Position yourself in a comfortable and stable stance, ensuring you have a firm grip on the angle grinder. Align the cutting disc with the marked cutting line on the bolt. Keep in mind that the rotation of the angle grinder will cause the sparks to fly in the direction opposite to the rotation.
Start the grinder and allow the disc to reach full speed before initiating the cut. Remember to let the tool do the work and avoid applying excessive force. Allow the weight of the grinder to guide the cutting process while maintaining control.
Step 4: Cutting Technique
Hold the angle grinder with both hands, placing your dominant hand on the main handle and your non-dominant hand on the auxiliary handle for stability. Keep your hands away from the path of the cutting disc.
Position the cutting disc at a slight angle (approximately 30 degrees) to the bolt. Gradually lower the cutting disc onto the bolt while applying slight pressure. Allow the disc to cut through the metal using its own speed.
Move the angle grinder smoothly along the marked cutting line, maintaining a consistent cutting depth. Avoid pausing or stopping the grinder mid-cut to prevent overheating and potential damage to the cutting disc.
If the bolt is thick, you may need to make multiple passes. After each pass, adjust the angle of the grinder to ensure a continuous and clean cutting action. Take your time and let the cutting disc do the work, avoiding excessive pressure that may lead to overheating or disc wear.
Step 5: Finishing and Safety Precautions
Once you have cut through the bolt, release the pressure on the grinder and turn it off. Allow the cutting disc to come to a complete stop before setting the tool down.
Inspect the cut to ensure it is clean and free of burrs or sharp edges. If necessary, use a metal file or sandpaper to smooth out any rough areas.
Remember to take appropriate safety precautions during and after the cutting process. Avoid touching the cutting disc or the cut metal surface immediately after cutting, as they may still be hot. Allow time for them to cool down before handling.
Additionally, clean up the work area by removing any metal shavings or debris. Dispose of them properly to avoid injury or fire hazards.
Conclusion
Cutting a metal bolt with an angle grinder can be a straightforward task when following the proper techniques and safety precautions. By preparing the work area, wearing appropriate safety gear, and using the correct cutting disc, you can achieve clean and precise cuts. Remember to work patiently, allowing the grinder to do the work without applying excessive force. With practice and adherence to safety guidelines, you can confidently use an angle grinder for cutting metal bolts in various projects and applications.