
Glass, with its shimmering transparency and inherent elegance, is a material that has been adored throughout history. Whether it’s a stunning glass tabletop, a decorative glass vase, or a beautifully crafted glass sculpture, this delicate material has the power to elevate the aesthetics of any space. However, even the most alluring glass surfaces can suffer from imperfections over time, like scratches, etches, or blemishes. In such cases, sanding becomes a valuable technique to restore and enhance the glass’s inherent beauty. In this comprehensive guide, we will explore what to do if you want to sand your beautiful glass surface, enabling you to transform it into a radiant masterpiece.
1. Assess the Glass Surface:
Before embarking on the sanding journey, it is essential to assess the glass surface thoroughly. Identify the extent of damage or imperfections to determine if sanding is the right solution. Superficial scratches or small blemishes are ideal candidates for sanding, while deep cracks or chips might require professional restoration. Always exercise caution and prioritize safety when dealing with damaged glass.
2. Gather the Right Tools and Materials:
To achieve the best results, gather the necessary tools and materials. This includes:
- Safety Gear:Safety goggles, gloves, and a dust mask are essential to protect yourself from glass dust and debris during the sanding process.
- Sandpaper:Choose high-quality silicon carbide sandpaper with varying grits. Start with a lower grit (around 80-120) for heavy imperfections and gradually move to higher grits (up to 1000 or even 2000) for a smoother finish.
- Sanding Blocks:These provide a stable surface for the sandpaper and ensure even pressure during sanding.
- Water Spray Bottle: Keep a water spray bottle handy to wet the glass surface during sanding. Water helps to lubricate the sandpaper and prevent excessive heating.
- Polishing Compound: An ultra-fine polishing compound is used to refine the glass surface further and achieve a crystal-clear finish.
3. Prepare the Glass Surface:
Thoroughly clean the glass surface to remove any dust, dirt, or residues. Use a gentle glass cleaner and lint-free cloth to ensure the surface is immaculate before starting the sanding process. Allow the glass to dry completely before proceeding.
4. Practice on a Scrap Piece:
If you’re new to glass sanding, practice on a scrap piece of glass before working on your cherished glass item. This will give you a better understanding of the sanding technique, help you determine the optimal pressure, and refine your skills.
5. Begin the Sanding Process:
- Wet Sanding Technique:Wet sanding is the preferred method for glass surfaces. It not only reduces the risk of heat buildup but also provides a smoother finish. Start by spraying water on the glass surface, then fold the sandpaper over the sanding block and hold it firmly but gently.
- Choose the Right GritSandpaper: Begin with a lower grit sandpaper (around 80-120) for more substantial imperfections. Move the sandpaper in a circular or back-and-forth motion, applying even pressure. As you progress, switch to higher grits (up to 1000 or 2000) to create a smoother surface.
- Inspect Periodically: Regularly stop and inspect the glass surface under good lighting to check for progress and identify any remaining imperfections. Adjust your sanding technique as needed.
- Maintain Proper Lubrication:Keep the glass surface wet throughout the sanding process using the water spray bottle. This ensures the sandpaper glides smoothly and reduces the risk of scratching.
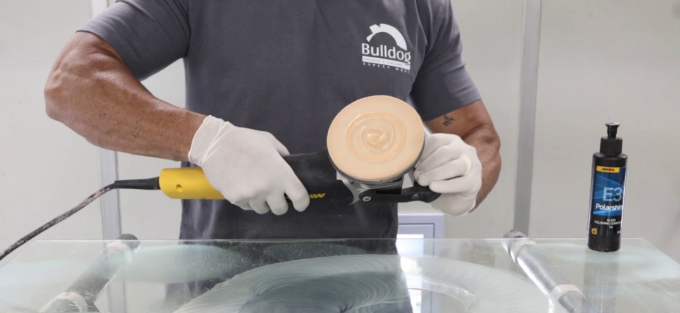
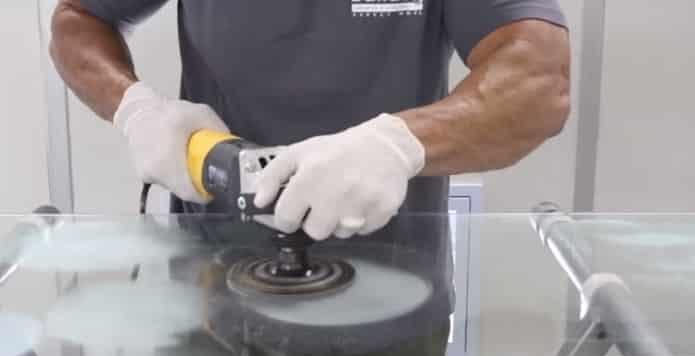
6. Polishing for the Finishing Touch:
After achieving the desired smoothness with high-grit sandpaper, it’s time to apply the polishing compound. Apply a small amount of the compound to a soft, clean cloth and gently polish the glass surface in circular motions. This step brings out the glass’s luster and enhances its overall appearance.
7. Clean and Admire Your Transformed Glass:
Once the polishing is complete, use a fresh, clean cloth to remove any polishing compound residue from the glass surface. Stand back and admire your work – a once blemished and imperfect glass surface now radiates with renewed splendor.
8. Maintenance Tips:
To ensure your sanding efforts stand the test of time, follow these maintenance tips:
- Avoid Abrasive Cleaners: Steer clear of abrasive or harsh cleaners that can damage the glass surface. Use gentle glass cleaners and soft cloths for routine cleaning.
- Use Coasters and Protective Mats: Place coasters under glasses and use protective mats under decorative glass items to prevent scratches or damages.
- Handle with Care: Treat your transformed glass surface with care, avoiding impact or heavy pressure.
- Regular Inspections: Periodically inspect your glass surface for any signs of wear and address minor issues promptly.
Conclusion:
Sanding glass surface is a meticulous yet rewarding process. Armed with the right tools, materials, and techniques, you can transform scratched and blemished glass into a sparkling masterpiece. Always prioritize safety, practice on scrap pieces before tackling cherished items, and follow proper maintenance to preserve the glass’s newfound beauty for years to come. With patience and attention to detail, you can unlock the full potential of your glass items, turning them into timeless works of art that will continue to enchant for generations.