
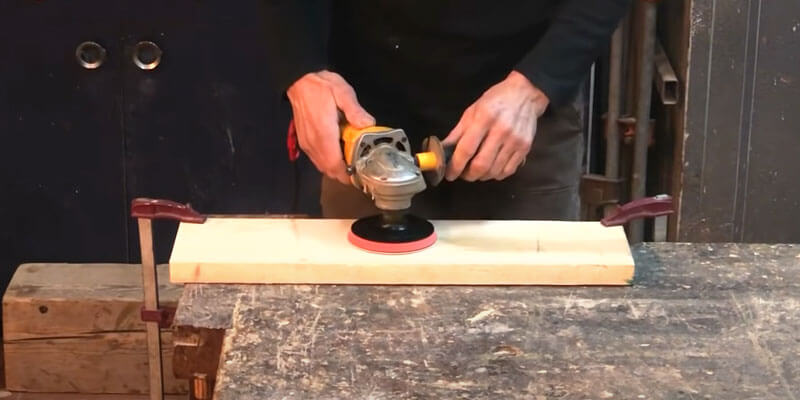
Whether you are grinding metal or cutting ceramic tiles, angle grinders are handy and easy to use. Sometimes, you need to replace the angle grinder sanding disc. Although replacing an angle grinder sanding disc requires some expertise, it can be done in just a few minutes.
Depending on the tools available, there are several ways to replace the sanding disc on an angle grinder. The easiest way is to use the wrench that comes with the grinder. However, if you purchased a used angle grinder and the wrench is missing, there are other ways to replace the angle grinder sanding disc without the factory-made wrench.
Step 1 – Disconnect the power
WARNING: Failure to disconnect power can result in injury. Before proceeding to the next step, ensure that the angle grinder is completely powered off.
To avoid injury from accidental use, always disconnect the power to the angle grinder. For corded grinders, unplug them from the wall outlet. If you’re using a cordless angle grinder, remove the battery. Removing the battery also makes the tool lighter and easier to handle when replacing the angle grinder sanding disc.
Step 2 – Remove the Angle Grinder Sanding Disc
Using a Factory Wrench
Most new angle grinders come with two wrenches. One looks like a standard wrench, and the other looks like a fork.
- Insert the prongs of the fork wrench into the two holes that appear in the drive bolt between the angle grinder sanding disc and the motor.
- Use the standard wrench to secure the bolt at the bottom of the sanding disc.
- Turn the fork wrench in the opposite direction of the arrow on the sanding disc to loosen it.
Some angle grinders have a button that locks the disc in place. If your grinder has this feature, press the button while turning the wrench until the disc is released.
Using Alternative Tools
If the factory wrench is missing, you can use a vise and screwdriver to remove the angle grinder sanding disc:
- Secure the bolt holding the disc with a vise.
- Insert a screwdriver into one of the holes between the disc and the motor.
- Turn the screwdriver in the opposite direction of the arrow on the angle grinder sanding disc. If it doesn’t loosen, gently tap the screwdriver with a hammer.
Removing Without Tools
In some cases, you can remove the angle grinder sanding disc by hand:
- Tap the disc with your palm in the opposite direction of the arrow printed on the disc.
- If the nut doesn’t loosen, use pliers to break the old disc for better access to the bolt.
Step 3 – Install a New Angle Grinder Sanding Disc
Once the old disc is removed, you can install the new angle grinder sanding disc:
- Place the new disc on the drive bolt, aligning it the same way as the old one.
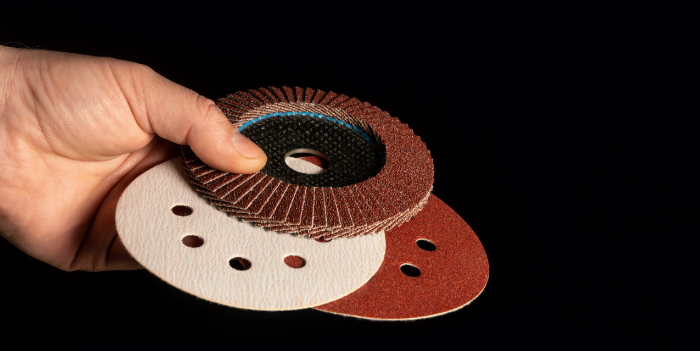
- Make sure you’re using the correct type of sanding disc for your angle grinder model. If unsure, take the old disc to a hardware store for reference.
- Tighten the new angle grinder sanding disc by hand in the opposite direction of the old one until secure.
BINIC – Sanding Disc Manufacturer
If you have any questions about angle grinder sanding discs or other abrasive products, our sales and technical experts are here to help. Feel free to contact us through the form below.